Tree Thinning | How To
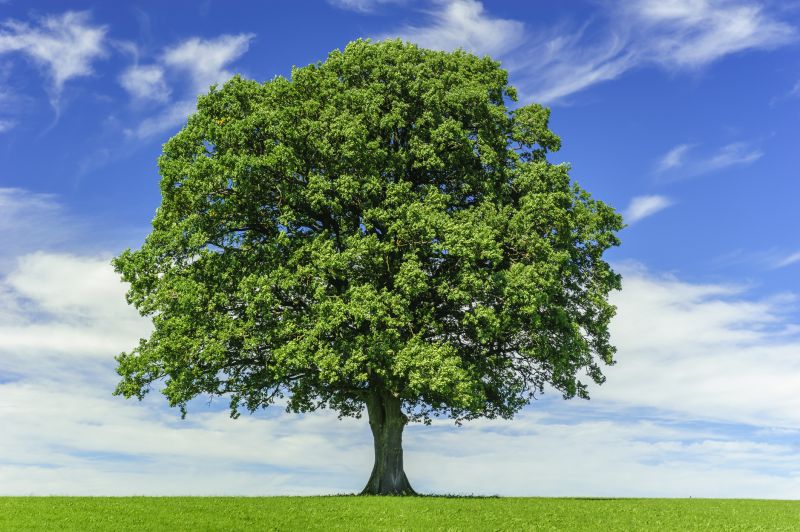
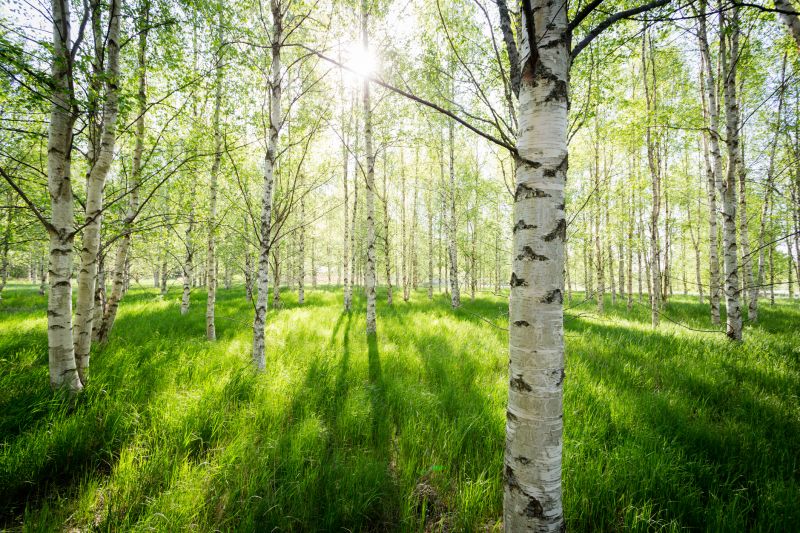
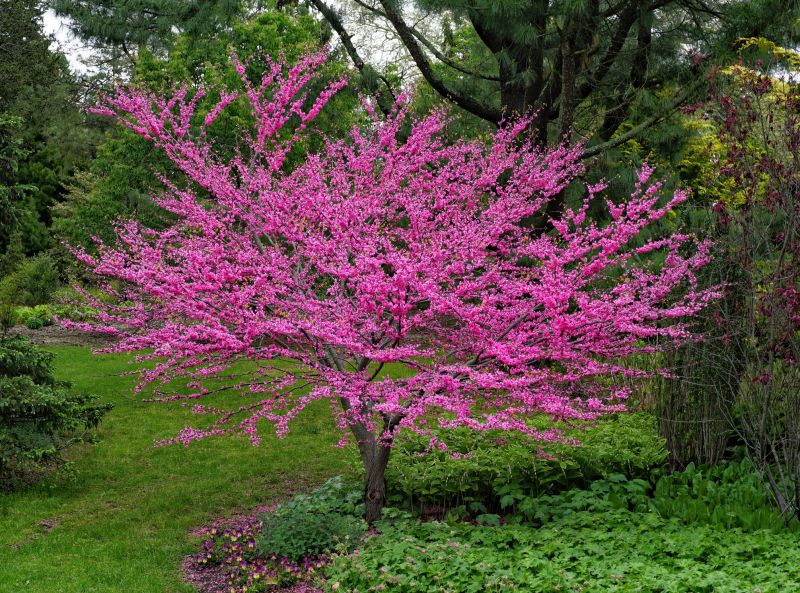
Get help with your tree thinning needs. Fill out the form above and we will connect you with local pros in your area. Tree thinning is a crucial forestry practice aimed at improving the health and vitality of a forested area. It involves carefully selecting and removing specific trees to create more space and reduce competition among them. By strategically thinning out the trees, the overall forest ecosystem can benefit from increased sunlight, improved air circulation, and enhanced nutrient availability in the soil. Tree thinning not only promotes the growth of desired tree species but also helps prevent the spread of diseases and reduces the risk of wildfires. This process requires the expertise of experienced professionals who possess the necessary knowledge and skills to execute it effectively.
How to Do Tree Thinning
Step 1: Assess the Trees
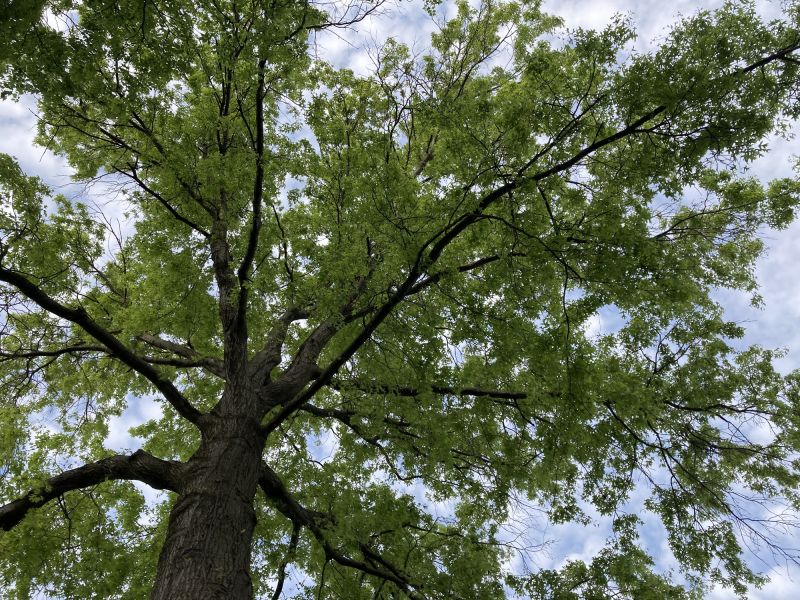
Begin by assessing the trees in your area to determine which ones require thinning. Look for signs of overcrowding, such as branches rubbing against each other or trees growing too closely together.
Step 2: Plan the Thinning
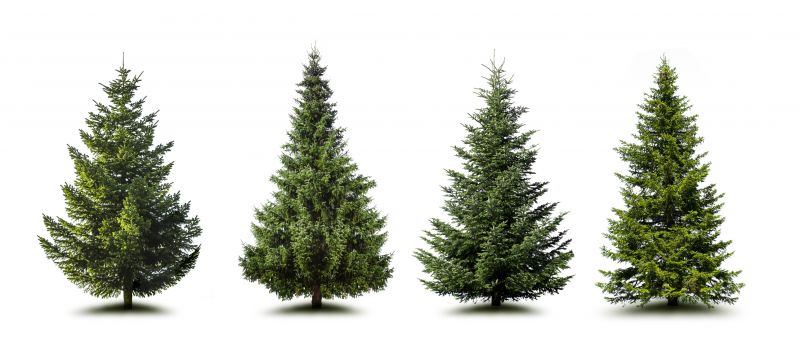
Develop a plan for the thinning process. Decide how many trees need to be removed and which ones should be prioritized. Consider factors such as tree health, species diversity, and the overall aesthetic of the area.
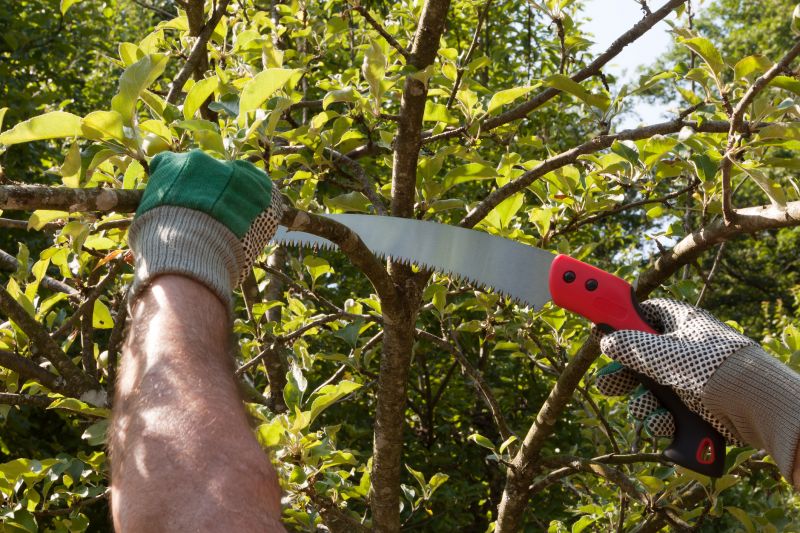
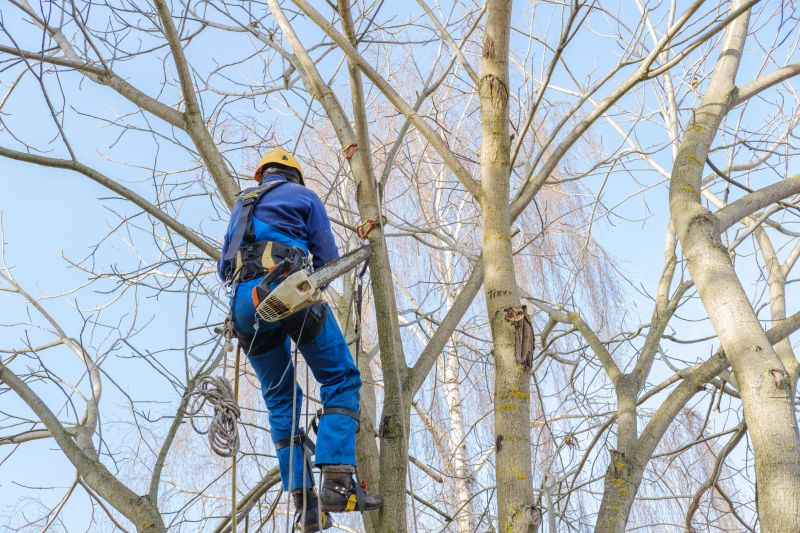
Step 3: Gather the Necessary Tools
Before starting the thinning process, gather the necessary tools. This may include a chainsaw, pruning shears, safety goggles, gloves, and a ladder if needed.
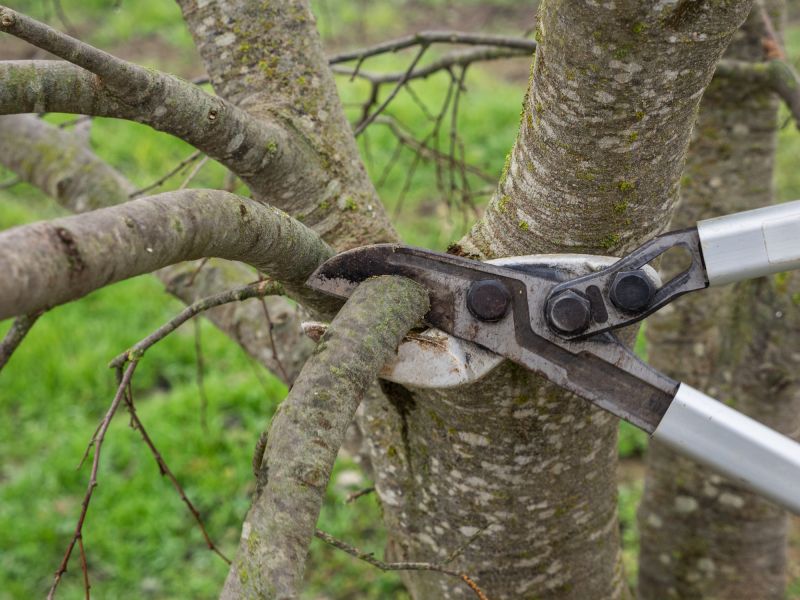
Step 4: Begin Thinning
Start by removing any dead or diseased trees. These trees are not contributing to the overall health of the area and should be the first to go. Use the chainsaw or pruning shears to carefully cut down the trees, making sure to follow proper safety precautions.
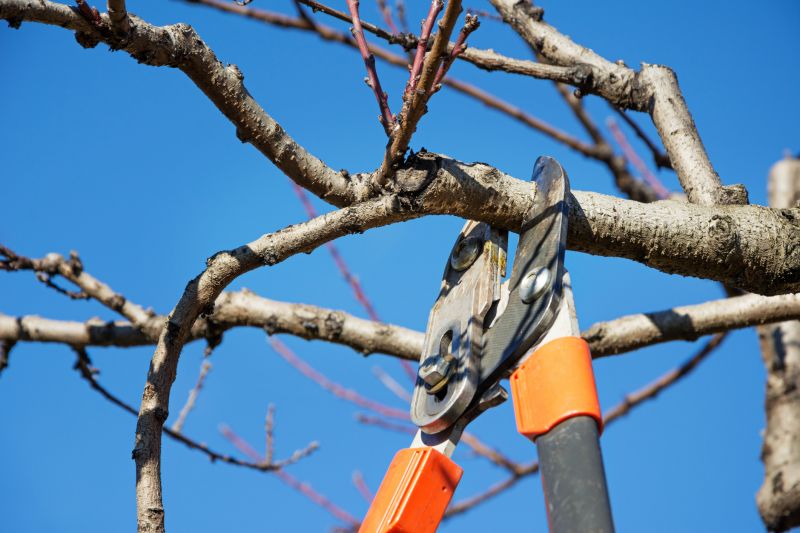
Step 5: Remove Excess Branches
Next, identify any branches that are crossing or rubbing against each other. These branches can cause damage and should be removed. Use the pruning shears to carefully trim these branches, ensuring a clean cut.
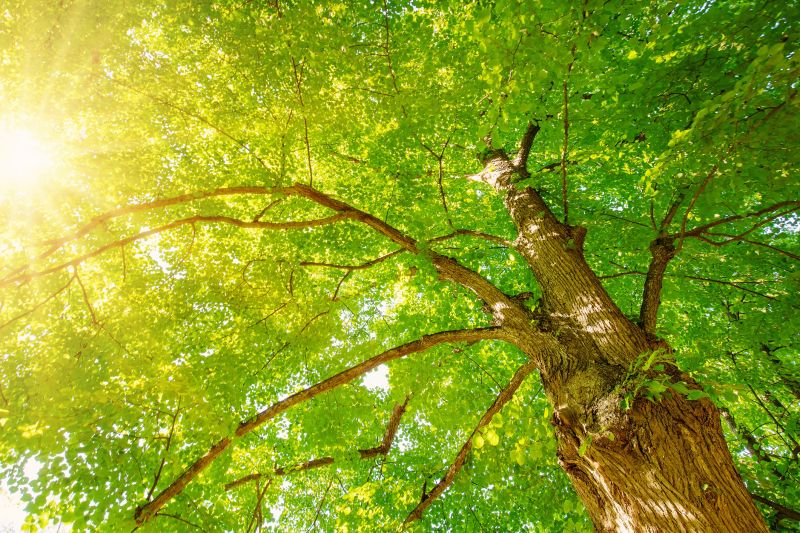
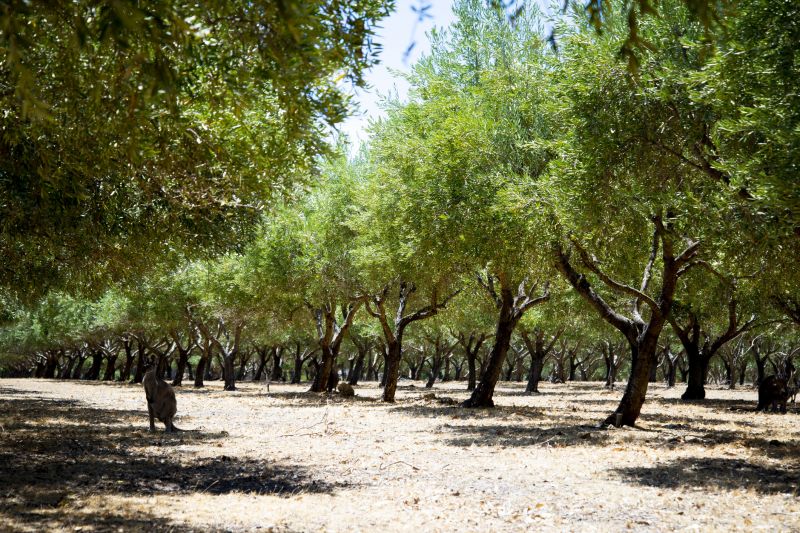
Step 6: Maintain Proper Spacing
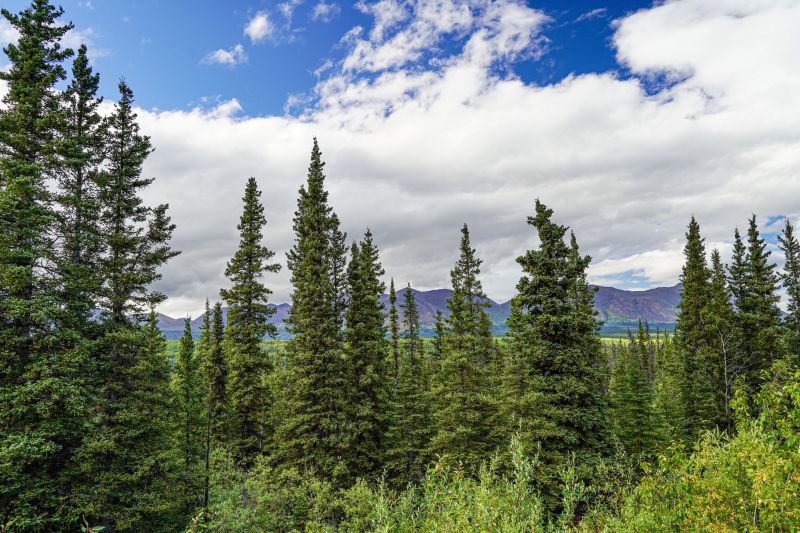
As you thin the trees, aim to maintain proper spacing between them. This will help promote healthy growth and reduce the risk of disease. Remove any trees that are too close together, allowing the remaining trees enough space to thrive.
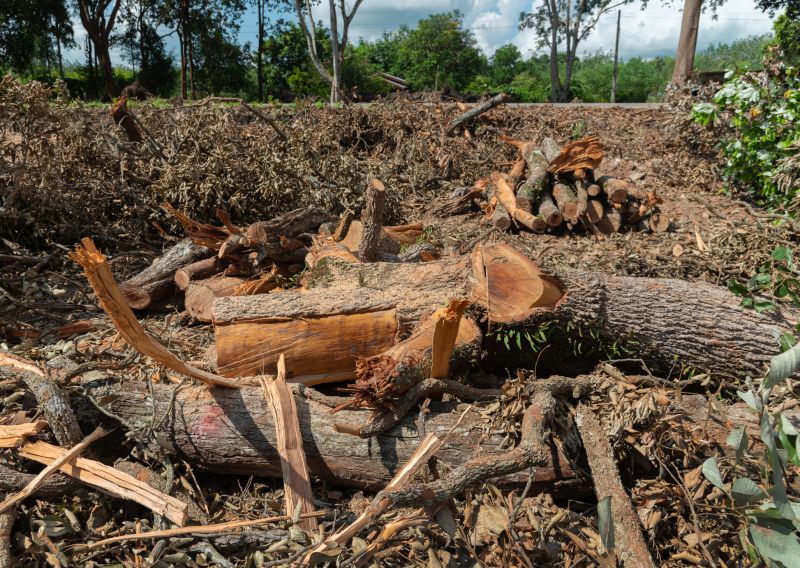
Step 7: Clean Up and Dispose
Once the thinning process is complete, clean up the area by removing any fallen branches or debris. Dispose of the cut trees and branches properly, following local regulations and guidelines.
Step 8: Monitor and Maintain
Regularly monitor the thinned area to ensure the remaining trees are growing healthily. Conduct routine maintenance, such as pruning and fertilizing, to support their growth and overall well-being.
By following these steps, you can successfully perform tree thinning and improve the health and appearance of your landscape.