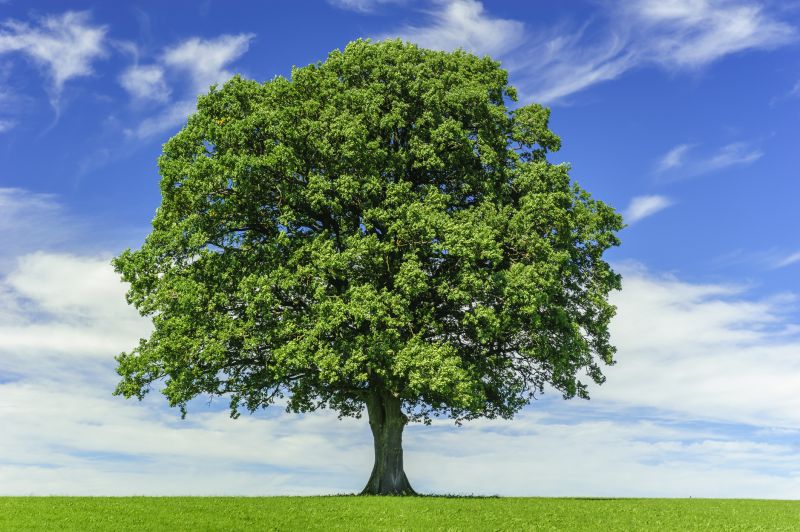
How to Do Tree Height Reduction
Tree height reduction is an important task to maintain the health and safety of your trees. Follow these steps to safely reduce the height of your trees:
Step 1: Assess the Tree
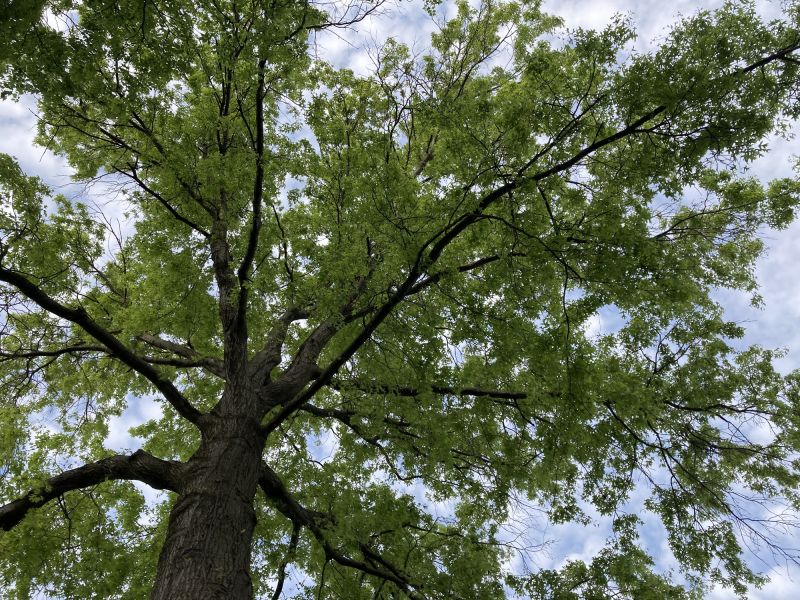
Before starting the height reduction process, examine the tree carefully. Look for any damaged or diseased branches that need to be removed. Make sure there are no power lines or structures nearby that could pose a risk during the reduction.
Step 2: Plan the Reduction
Determine the desired height reduction for the tree. It is generally recommended to reduce the height by no more than one-third to maintain the tree's health. Identify the branches that need to be removed to achieve the desired height reduction.
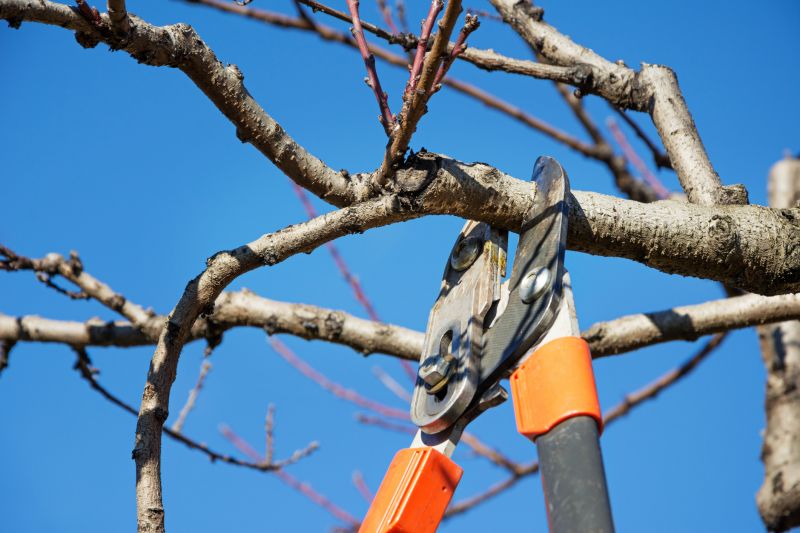
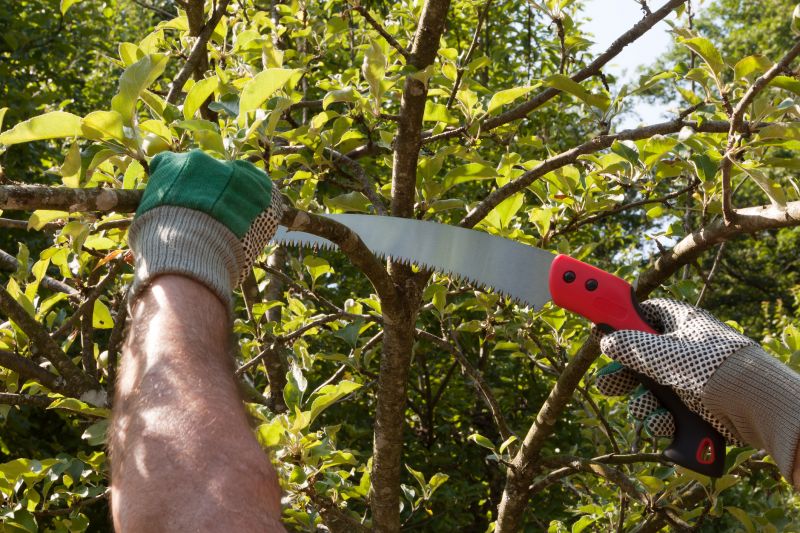
Step 3: Gather the Right Tools
Ensure you have the necessary tools for the job, such as a pruning saw, loppers, and safety equipment like gloves and safety glasses. Having the right tools will make the process easier and safer.
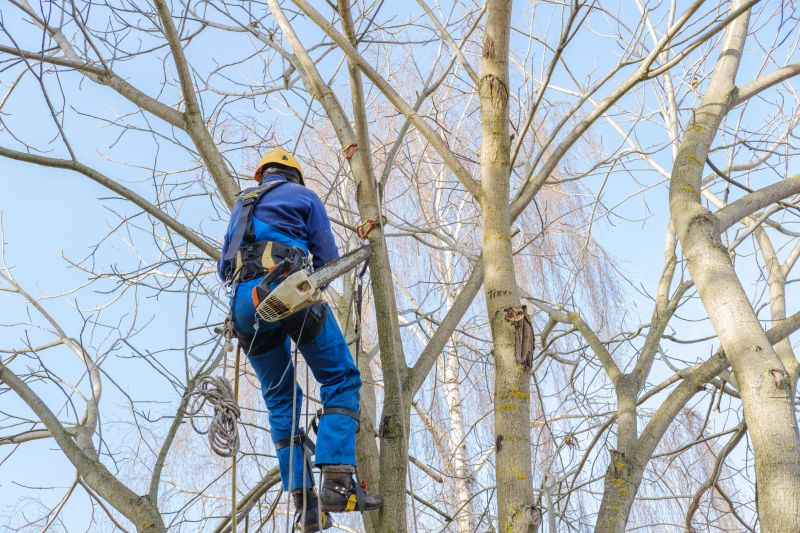
Step 4: Start from the Bottom
Begin the reduction process from the bottom of the tree. Start by removing any dead or diseased branches. Then, identify the branches that need to be pruned to reduce the height. Make clean cuts just outside the branch collar to promote proper healing.
Step 5: Work Your Way Up
Continue working your way up the tree, removing branches as necessary to achieve the desired height reduction. Take breaks if needed to ensure your safety and to assess the tree's overall appearance as you progress.
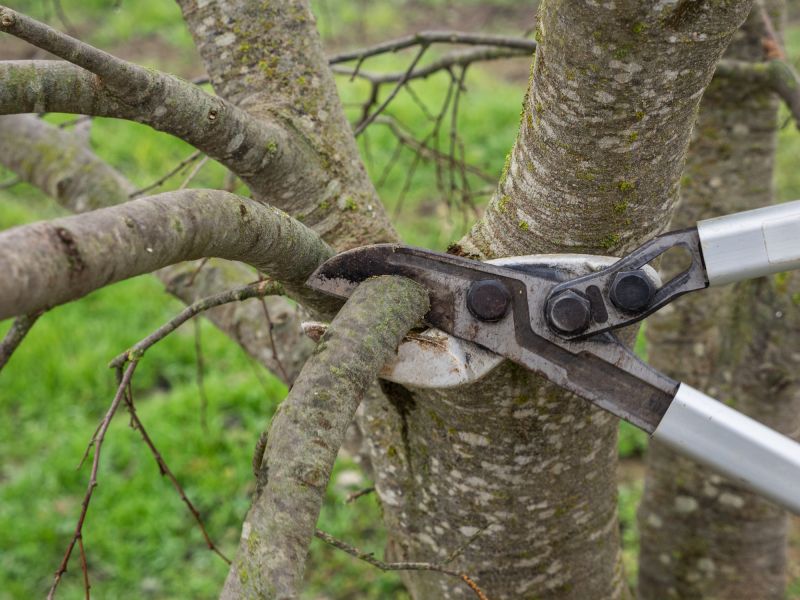
Step 6: Finalize the Reduction
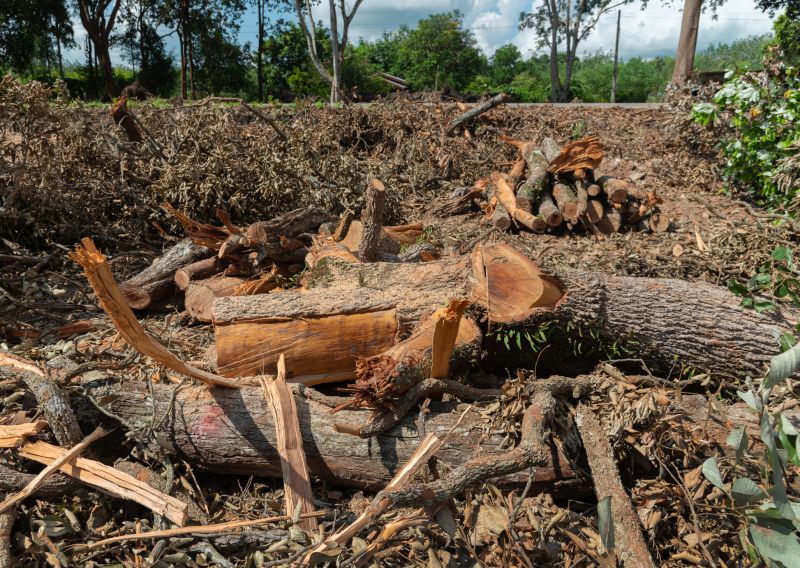
Once you have achieved the desired height reduction, step back and assess the tree's overall shape and balance. Make any final adjustments if needed. Remove all the cut branches and debris from the area.
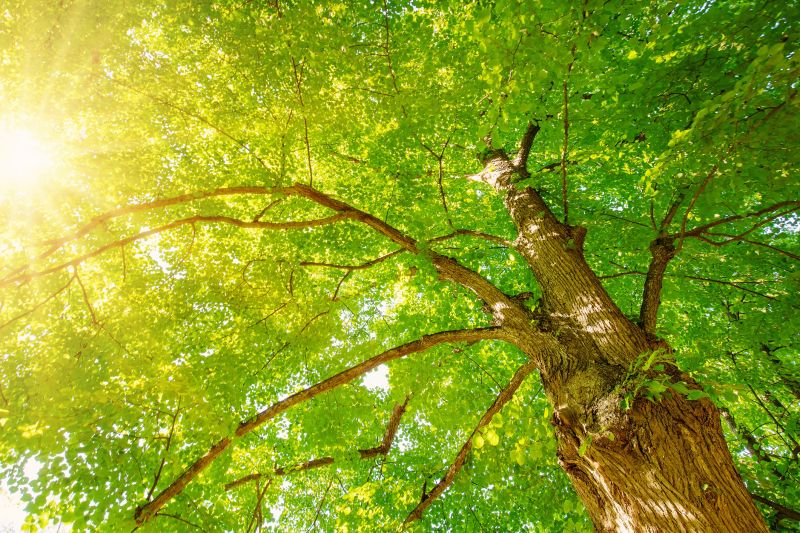
Step 7: Post-Reduction Care
After the height reduction, it's important to provide proper care to the tree. Water the tree adequately, especially during dry periods. Apply mulch around the base to help retain moisture and prevent weed growth. Monitor the tree's health and address any issues promptly.
By following these steps, you can safely and effectively reduce the height of your trees, promoting their health and maintaining the overall aesthetics of your landscape.