Step 1: Assess the Branch
Before starting the removal process, carefully examine the branch you want to remove. Look for any signs of disease, damage, or weakness. If the branch appears healthy and sturdy, proceed to the next step.
Step 2: Gather the Necessary Tools
Make sure you have the right tools for the job. You will need:
- Pruning shears
- Loppers
- Hand saw or chainsaw (for larger branches)
- Safety goggles
- Gloves
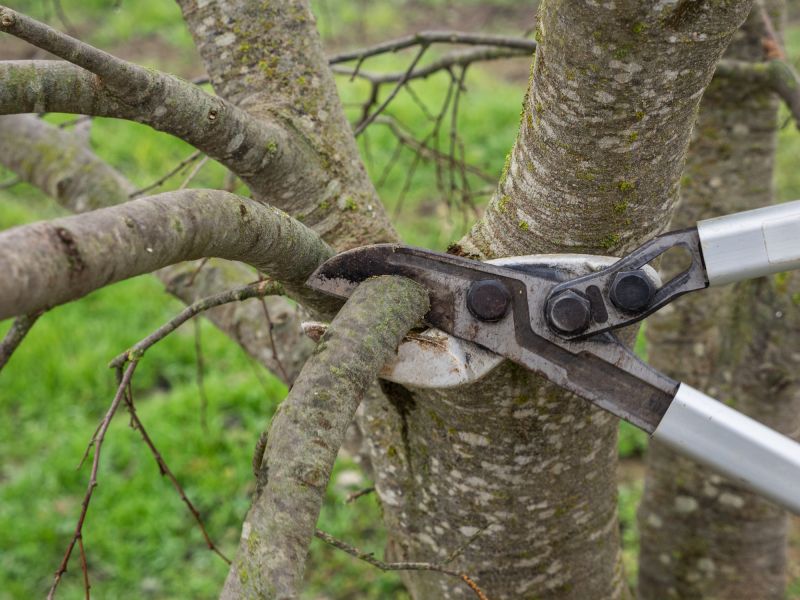
Step 3: Plan the Cut
Decide where you want to make the cut. Look for the branch collar, which is the swollen area where the branch meets the trunk. Cutting just outside the branch collar will promote proper healing and prevent damage to the main trunk.
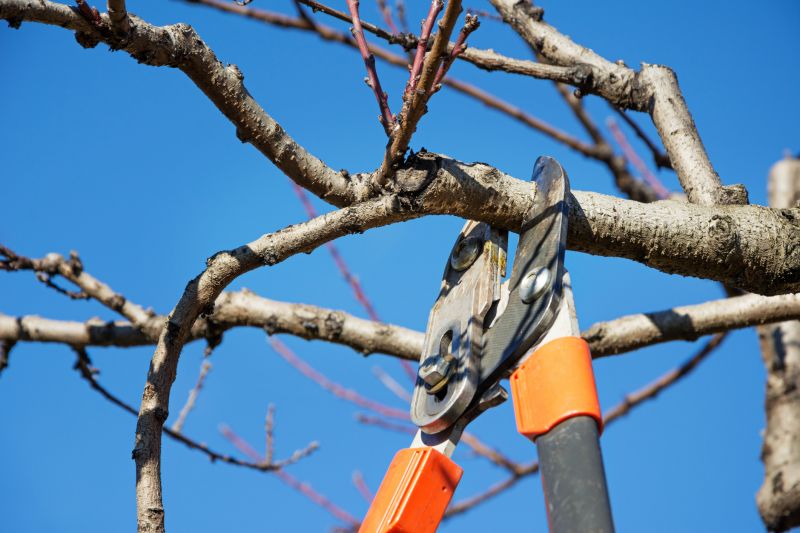
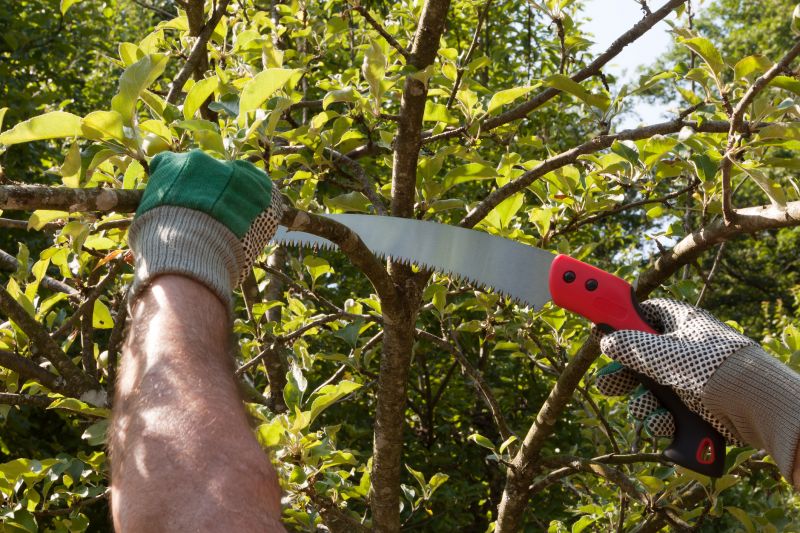
Step 4: Make the Cut
Using the appropriate tool, make a clean cut just outside the branch collar. Start by making an undercut about 6-12 inches away from the trunk to prevent the branch from tearing the bark. Then, make a top cut slightly outside the undercut. This will ensure a clean and smooth cut.
Step 5: Remove the Branch
After making the cut, the branch should easily fall away. If it doesn't, use loppers or a hand saw to remove any remaining stubs. Be careful not to damage the surrounding bark or trunk while doing this.
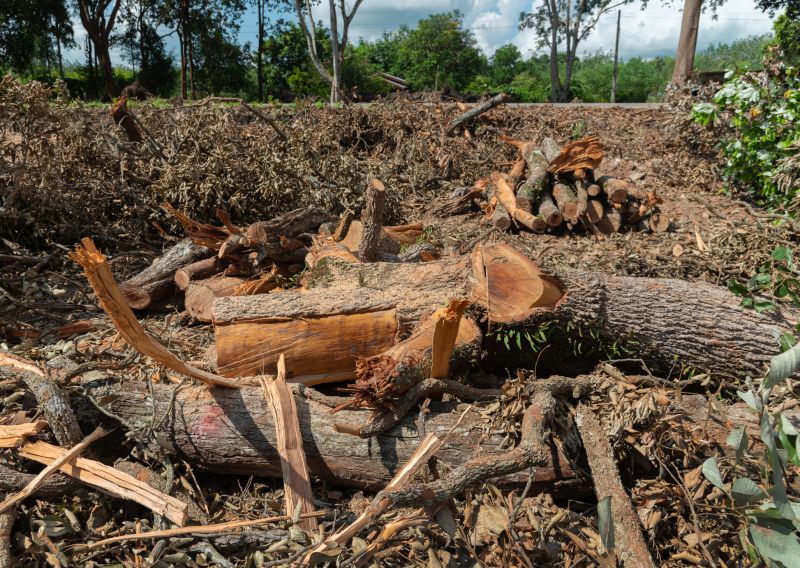
Step 6: Clean Up
Remove any fallen branches and debris from the area. Dispose of the branches properly, either by composting or contacting your local waste management service for disposal instructions.
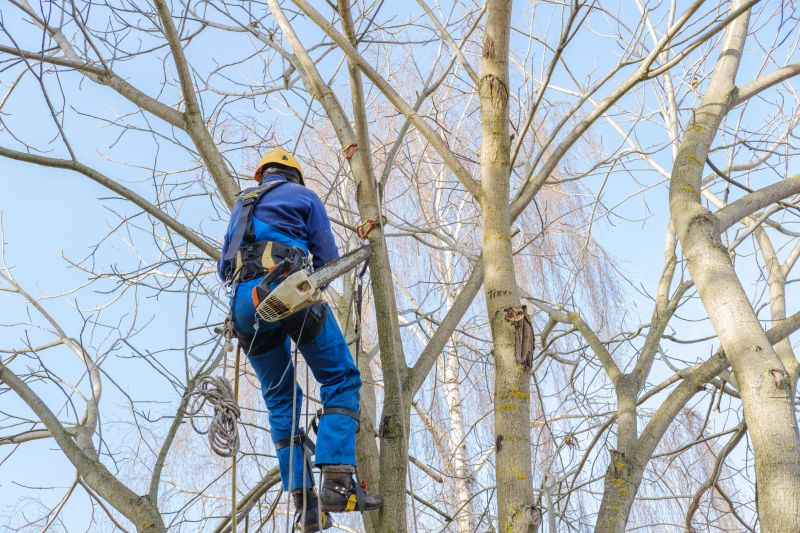
Step 7: Final Inspection
Take a final look at the tree to ensure that the branch removal was successful and that there are no remaining hazards. If you notice any issues or concerns, consult with a professional arborist.
By following these steps, you can safely and effectively remove tree branches.