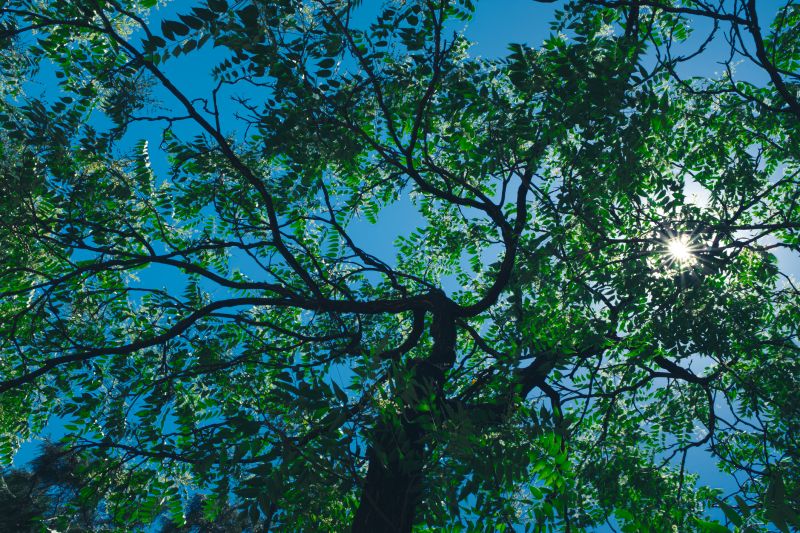
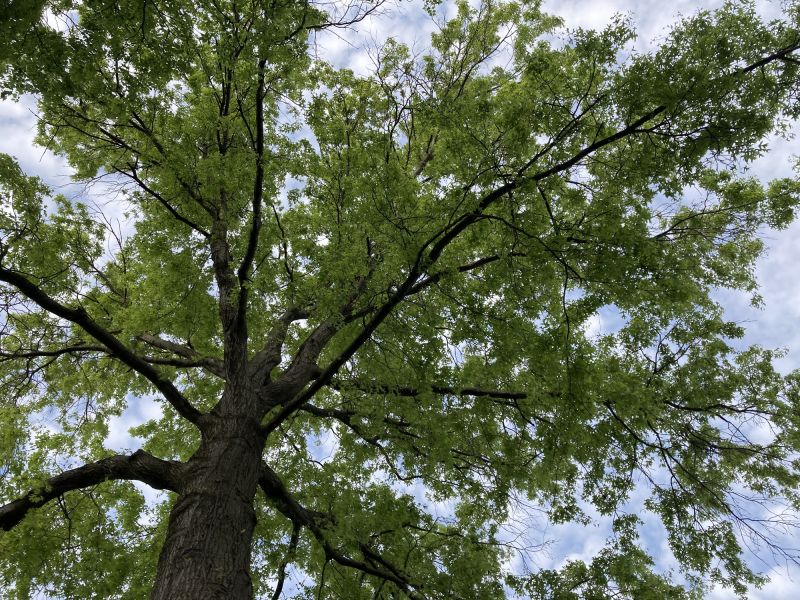
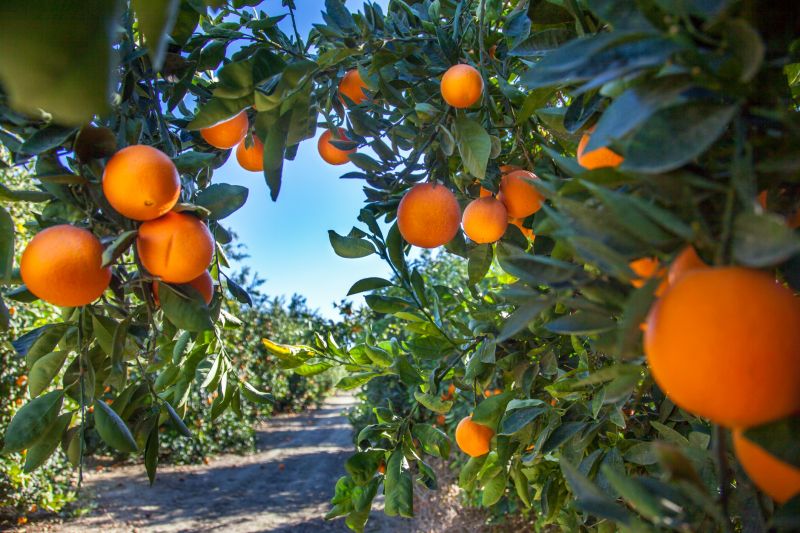
Tree Branch Thinning | How To
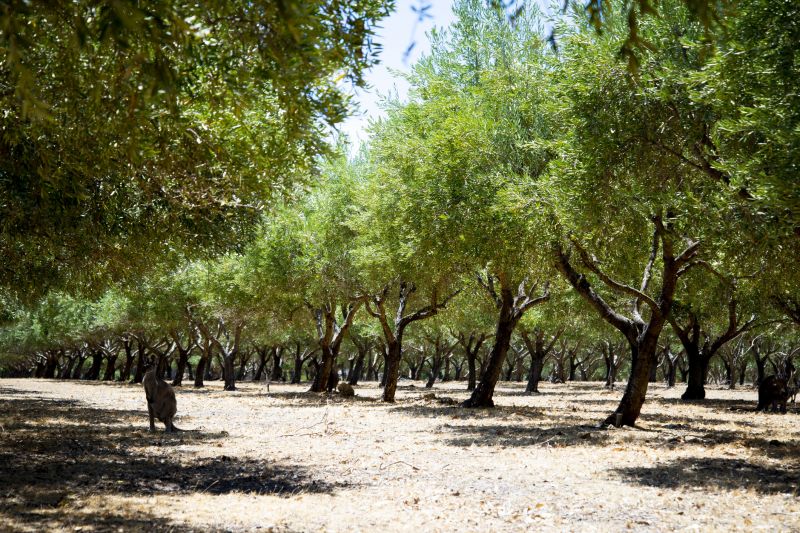
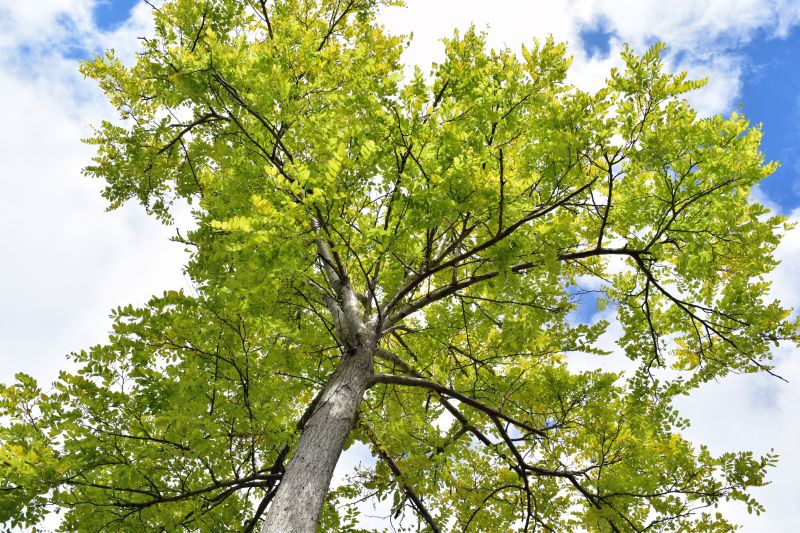
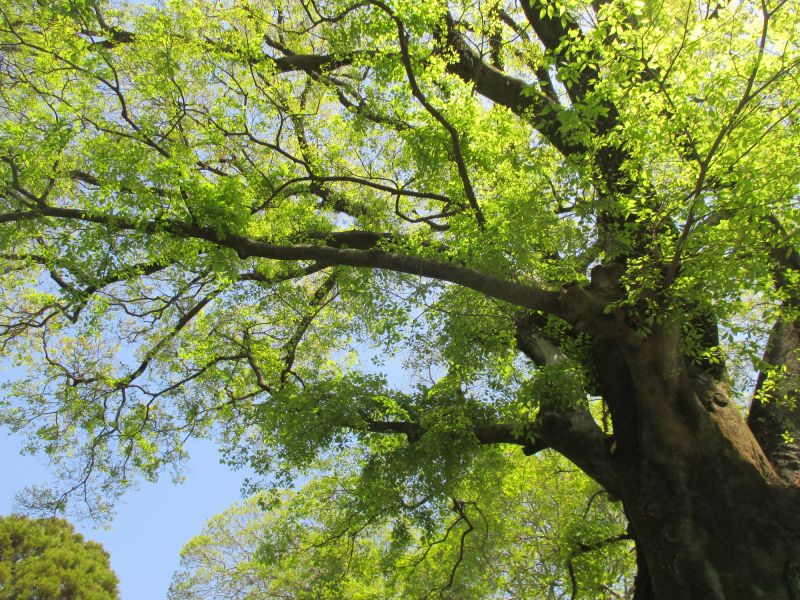
Get help with your tree branch thinning needs. Fill out the form above and we will connect you with local pros in your area. Tree branch thinning is a professional technique used to promote the health and aesthetics of trees by selectively removing certain branches. This process involves carefully assessing the tree's structure and removing branches that are weak, diseased, or overcrowded. By doing so, tree branch thinning improves air circulation and sunlight penetration, reducing the risk of disease and promoting overall tree vitality. Additionally, this method enhances the tree's appearance by creating a more balanced and symmetrical canopy. Proper tree branch thinning requires the expertise of trained arborists who have a deep understanding of tree biology and pruning techniques. It is an essential practice for maintaining the long-term health and beauty of trees in residential and commercial landscapes.
How to Do Tree Branch Thinning
Step 1: Assess the Tree
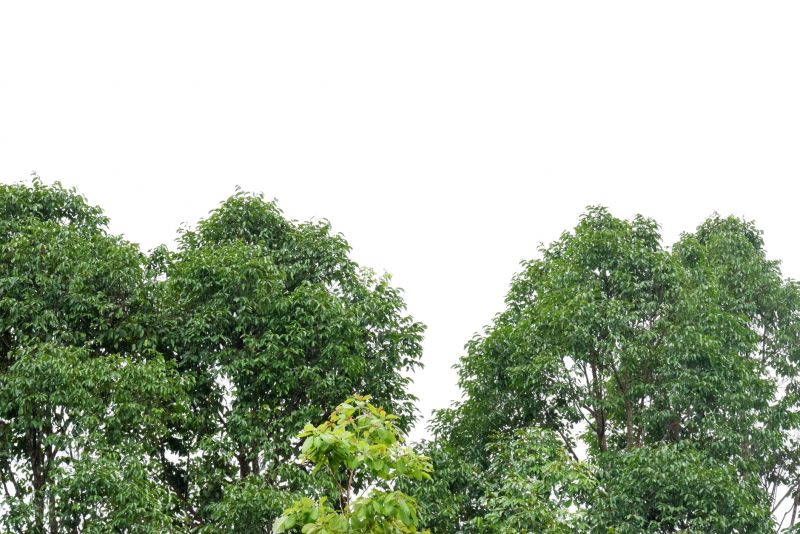
Start by assessing the tree and determining which branches need to be thinned. Look for branches that are crossing or rubbing against each other, those that are dead or diseased, and any branches that are growing too close to the trunk.
Step 2: Gather the Right Tools
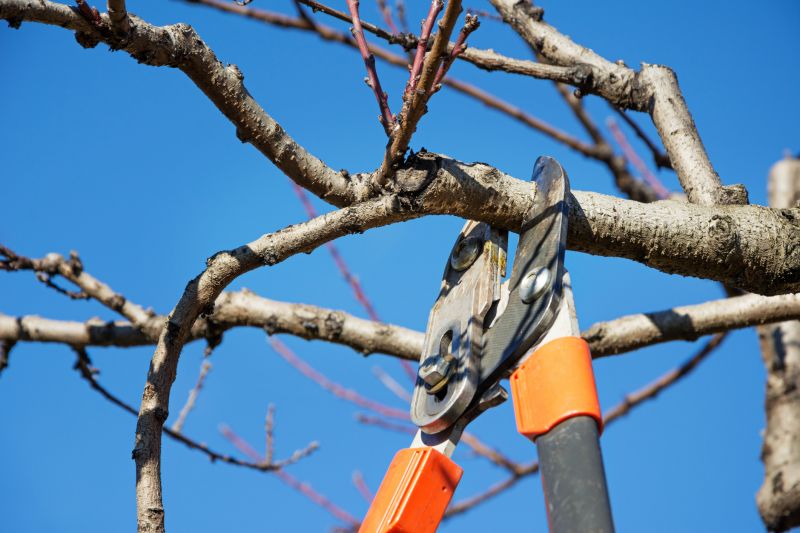
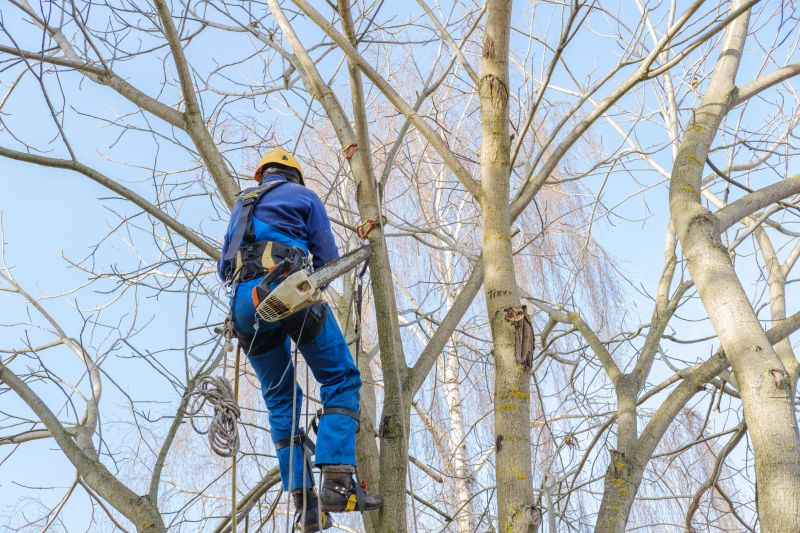
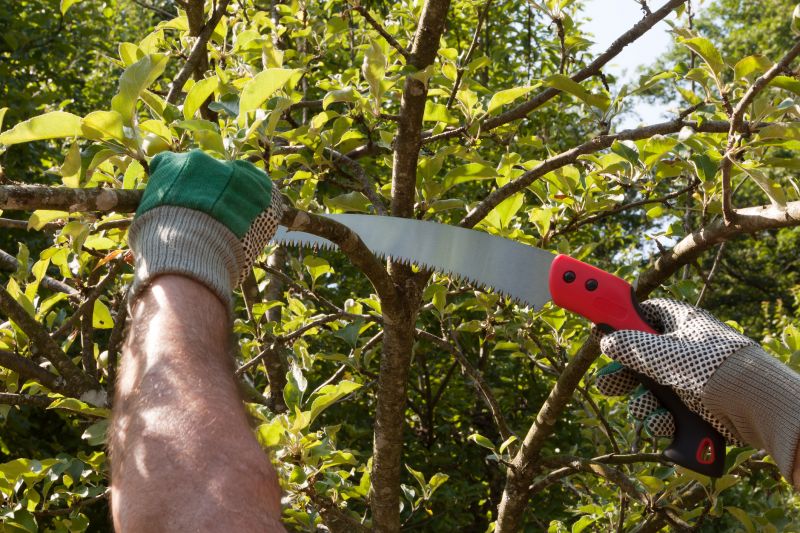
Before starting the thinning process, make sure you have the necessary tools. These may include pruning shears, loppers, a pruning saw, and safety equipment such as gloves and safety glasses.
Step 3: Start with Dead or Diseased Branches
Begin by removing any dead or diseased branches. These branches can be easily identified as they may be brittle, discolored, or show signs of decay. Use pruning shears or a pruning saw to carefully remove these branches.
Step 4: Remove Crossing or Rubbing Branches
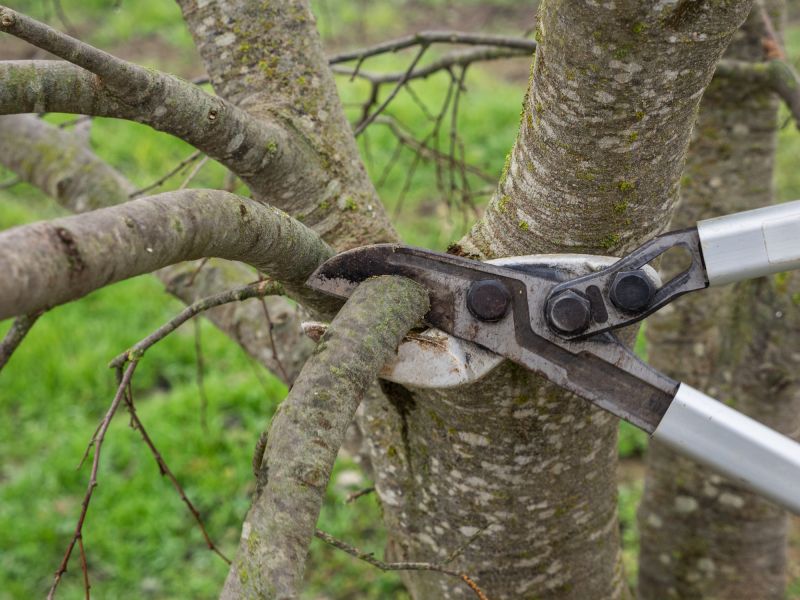
Next, identify any branches that are crossing or rubbing against each other. These branches can cause damage and should be removed. Use loppers or a pruning saw to carefully remove these branches, making clean cuts just outside the branch collar.
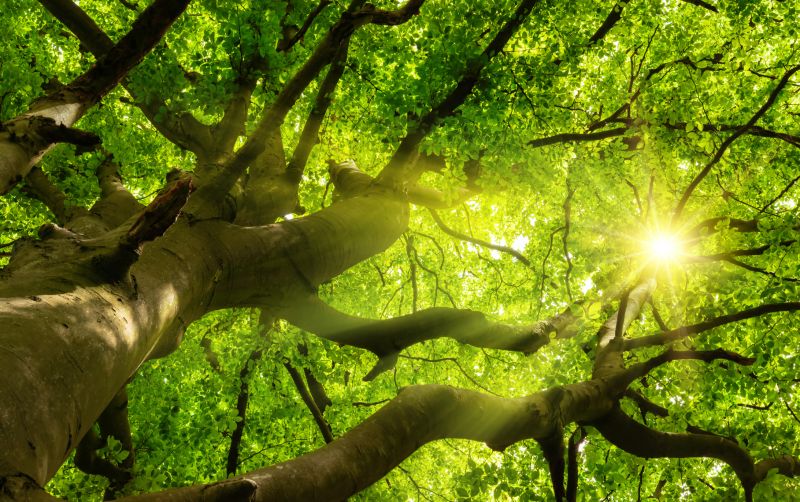
Step 5: Thin Out Excess Branches
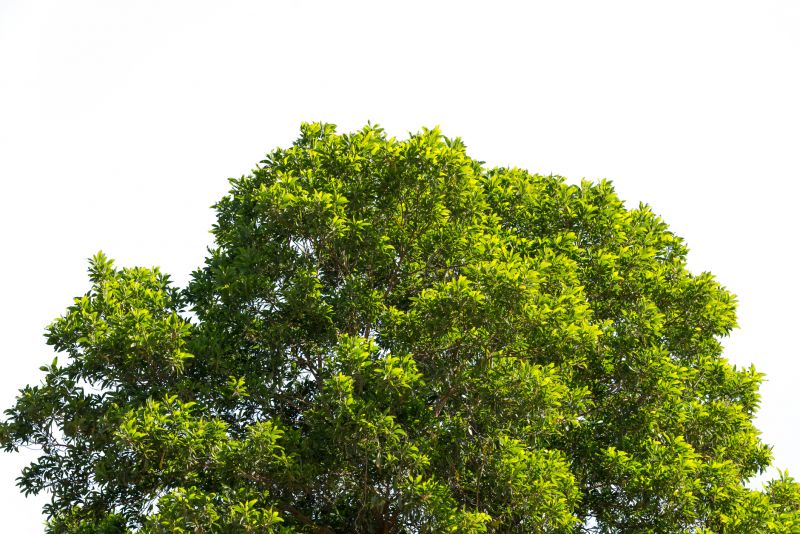
Thinning out excess branches helps improve air circulation and allows more sunlight to reach the tree's interior. Select branches that are growing too close to the trunk or crowding other branches and remove them. Use pruning shears or loppers for smaller branches, and a pruning saw for larger branches.
Step 6: Maintain Tree Shape
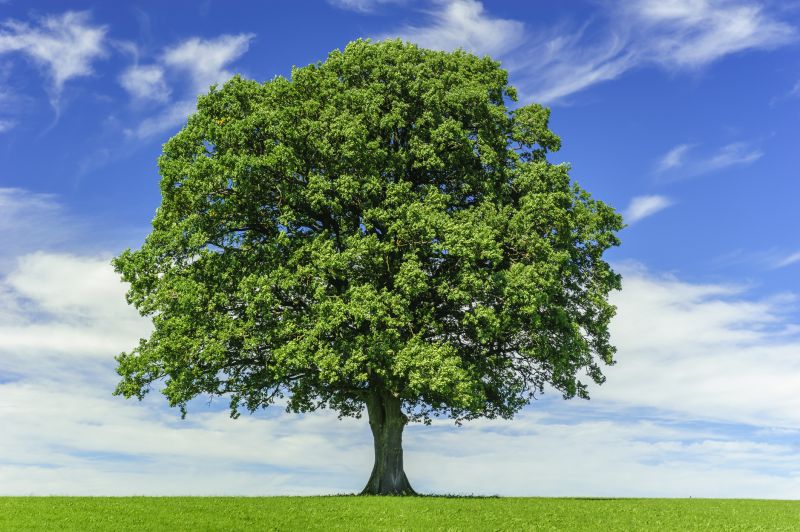
While thinning, be mindful of the tree's overall shape. Avoid removing too many branches from one side, as this can lead to an imbalanced appearance. Step back occasionally to assess the tree's shape and make adjustments as needed.
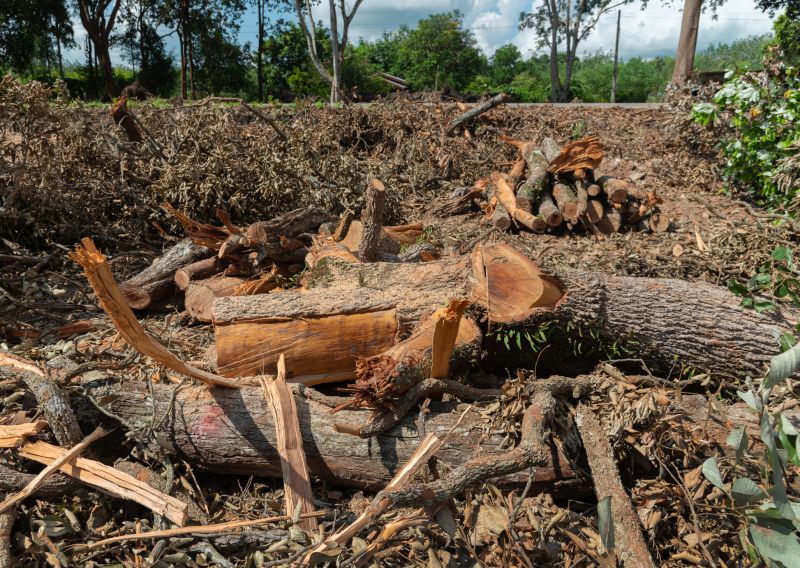
Step 7: Clean Up and Dispose of Branches
Once you have finished thinning the tree branches, gather and dispose of the removed branches properly. You can cut them into smaller pieces for easier disposal or use them for mulch if suitable.
Step 8: Regular Maintenance
Tree branch thinning is not a one-time task. It is important to regularly inspect and thin the branches as needed to maintain the health and appearance of the tree.
Follow these steps to successfully thin the branches of your tree and promote its overall health and growth.