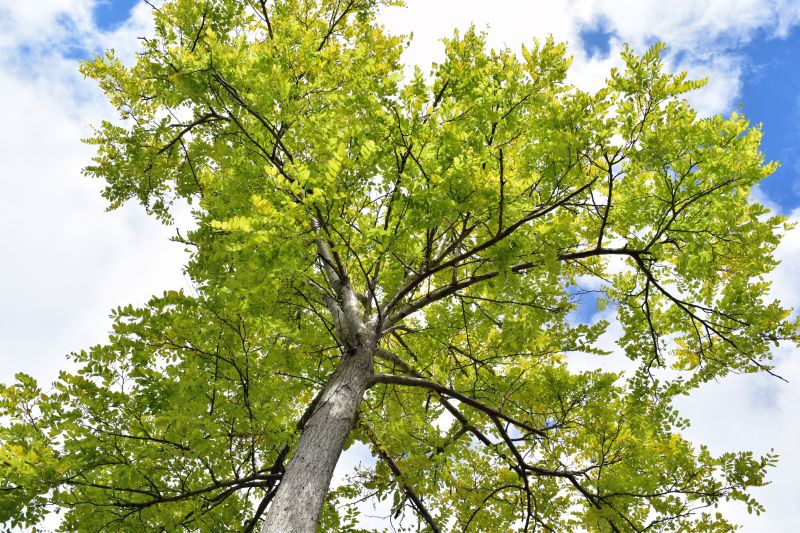
How to Do Tree Crown Stabilization
Tree crown stabilization is an important process to maintain the health and stability of trees. Follow these steps to effectively stabilize the crown of a tree:
Step 1: Assess the Tree
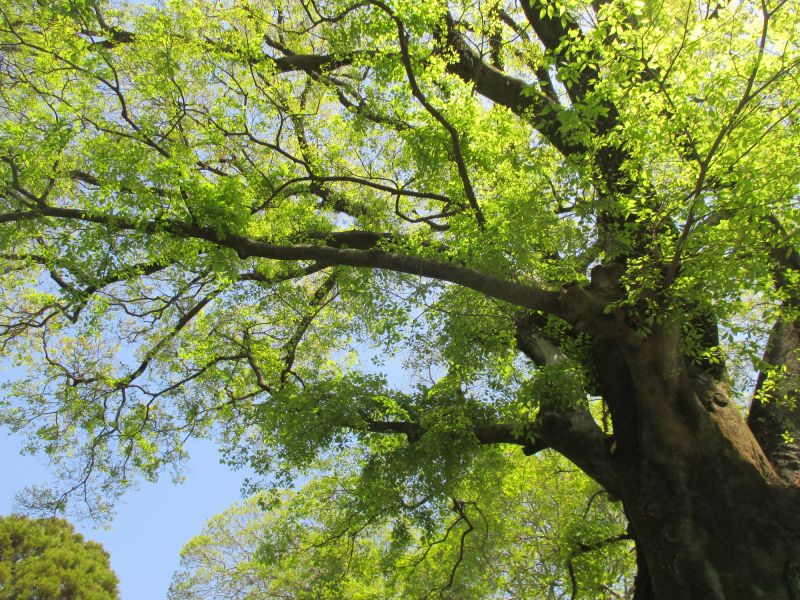
Before starting the stabilization process, carefully examine the tree to identify any weak or damaged branches. Look for signs of disease, pests, or structural issues that may affect the stability of the crown.
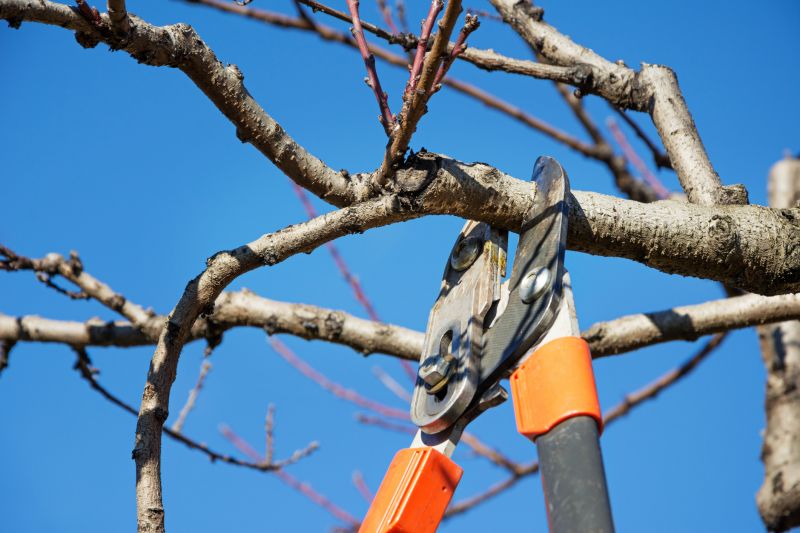
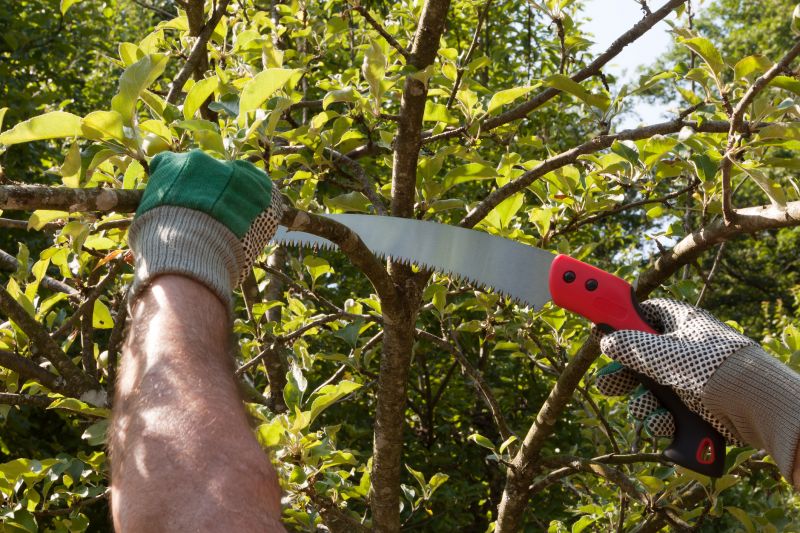
Step 2: Prune Dead or Diseased Branches
Using appropriate pruning tools, remove any dead or diseased branches from the tree. This will help improve the overall health of the tree and prevent further damage to the crown.
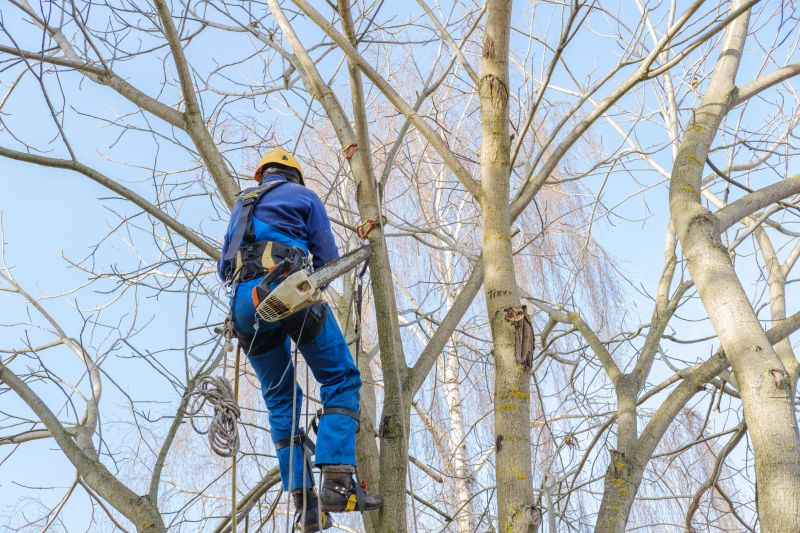
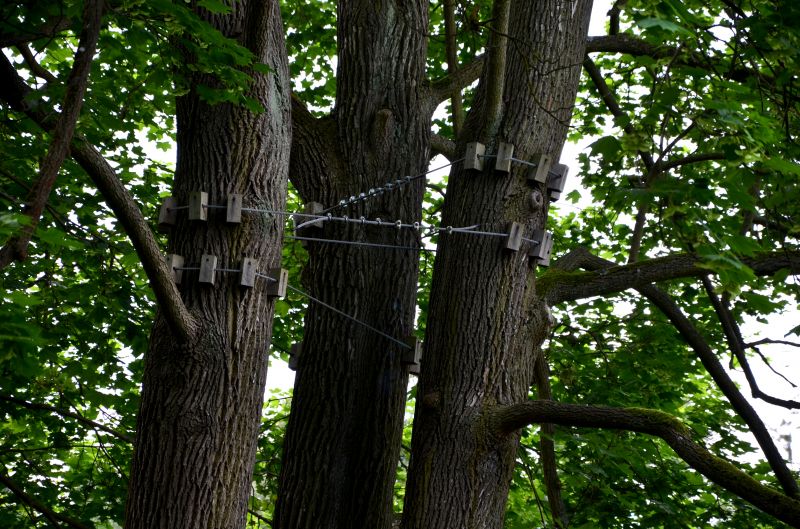
Step 3: Identify and Support Weak Branches
Identify any weak branches that may be at risk of breaking or falling. Install support systems such as cables or braces to provide additional stability to these branches. Ensure that the support systems are properly installed and do not cause any harm to the tree.
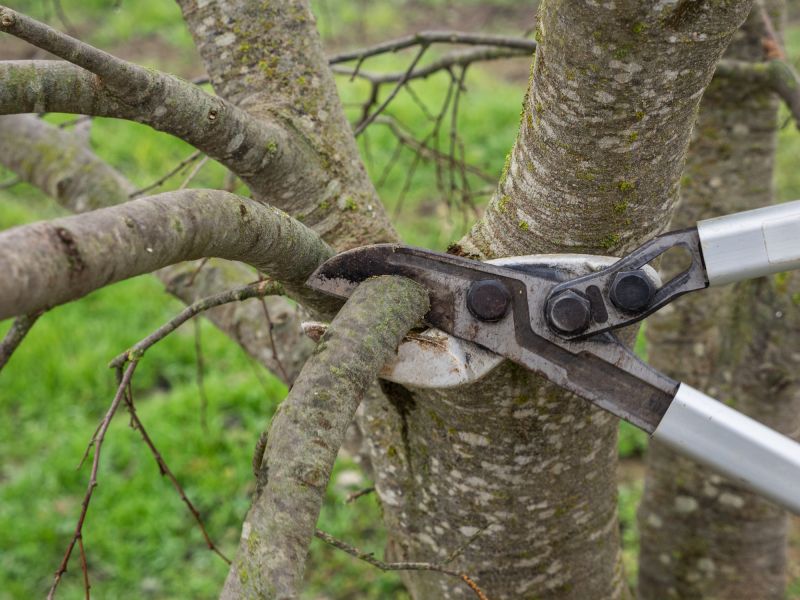
Step 4: Remove Excess Weight
If the tree has excessive foliage or branches that are causing an imbalance in the crown, carefully thin out the canopy. Remove any overcrowded or overlapping branches to reduce weight and improve the overall structural integrity of the tree.
Step 5: Regular Maintenance
Regularly inspect the tree and its crown for any signs of damage or instability. Prune any new dead or diseased branches and adjust the support systems if needed. Additionally, monitor the growth of the tree and make necessary adjustments to maintain its stability.
Step 6: Consult an Arborist
If you are unsure about the tree crown stabilization process or if the tree requires more extensive work, it is recommended to consult with a professional arborist. They can provide expert guidance and ensure the proper care and stabilization of the tree.
By following these steps, you can effectively stabilize the crown of a tree and help it thrive for years to come.