Tree Branch Shaping | How To
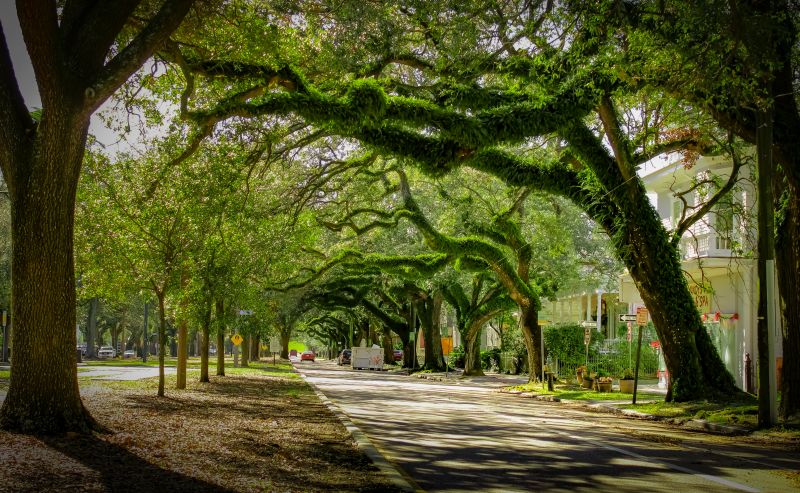
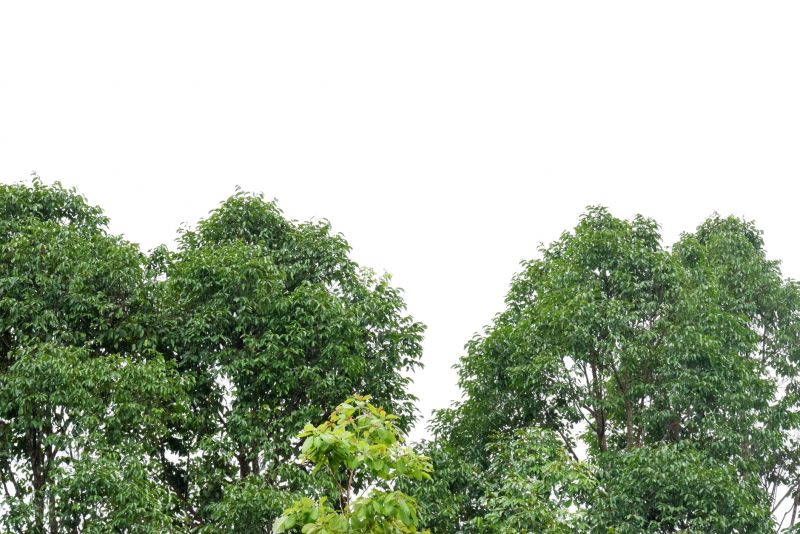
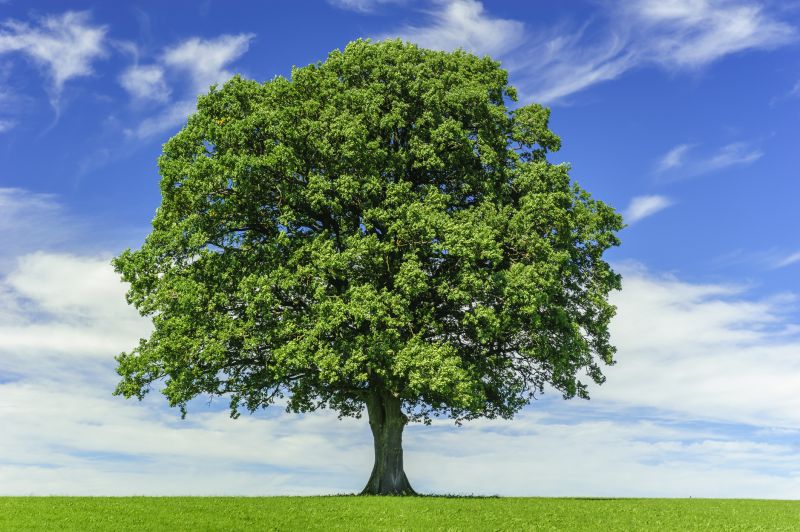
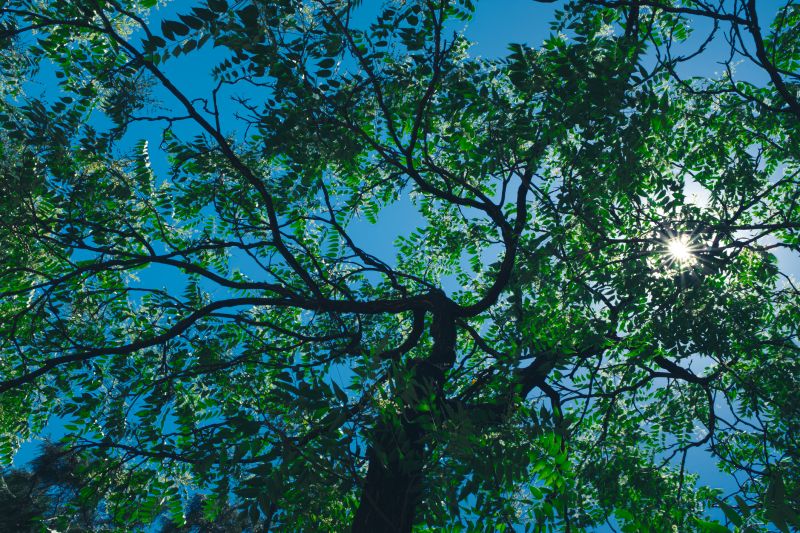
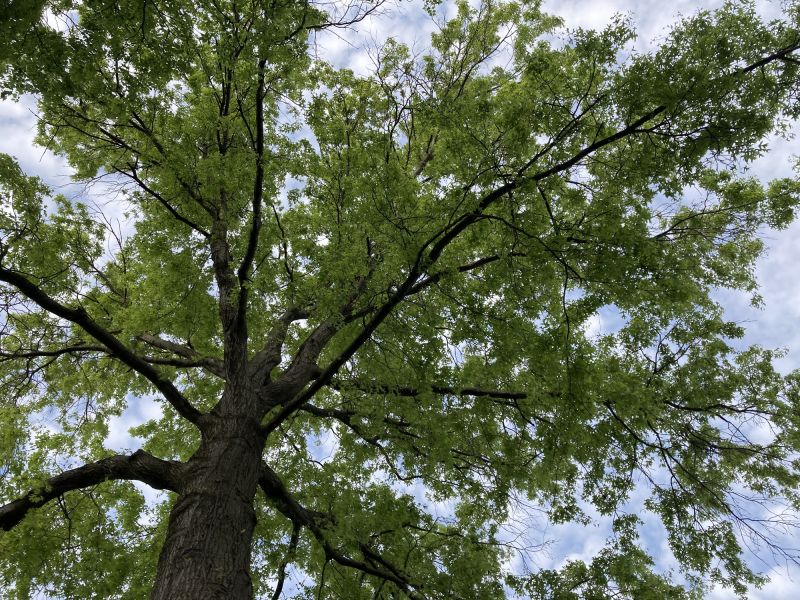
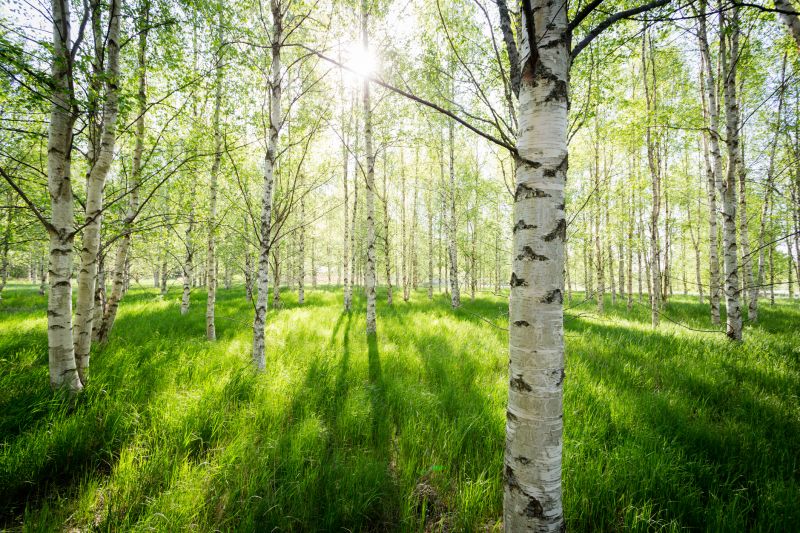
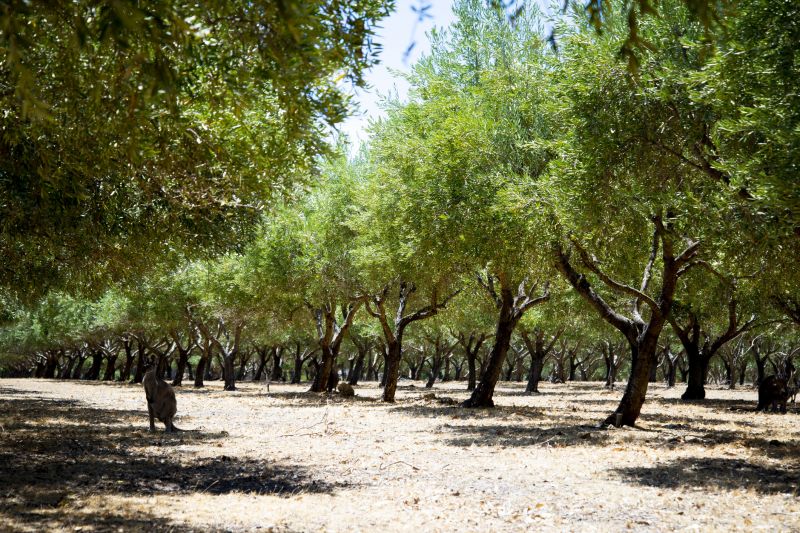
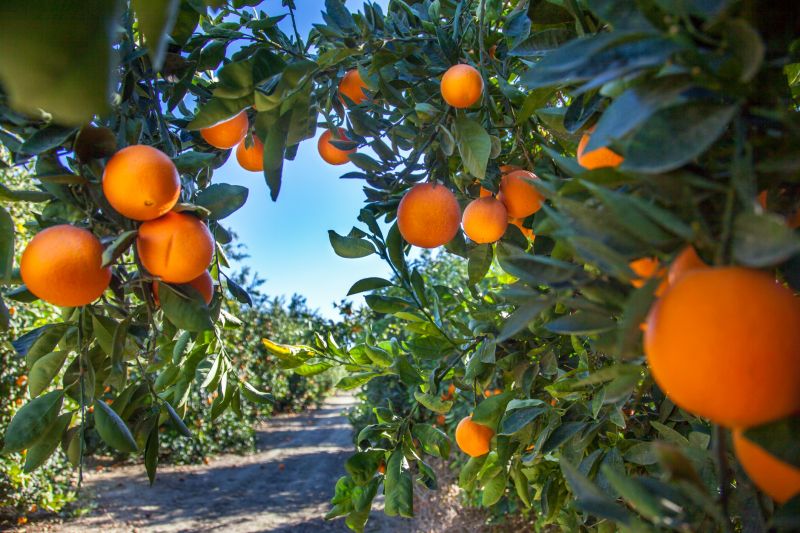
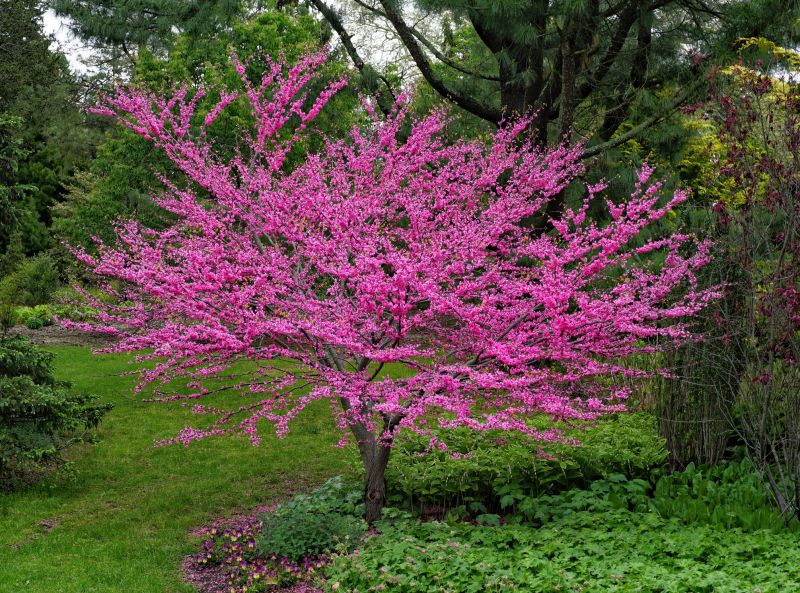
Get help with your tree branch shaping needs. Fill out the form above and we will connect you with local pros in your area. Tree branch shaping, also known as arboricultural pruning, is a specialized technique used to enhance the aesthetic appeal and structural integrity of trees. This process involves carefully trimming and manipulating tree branches to achieve desired shapes, sizes, and overall appearances. By selectively removing or redirecting certain branches, tree branch shaping helps to maintain a balanced canopy, improve air circulation, and promote healthy growth. This practice is particularly beneficial for maintaining trees near buildings, roads, or power lines, as it minimizes potential hazards and ensures the longevity of the tree. Skilled arborists employ their expertise to execute precise cuts and shaping methods, resulting in beautifully sculpted trees that harmoniously blend with their surroundings.
How to Shape Tree Branches
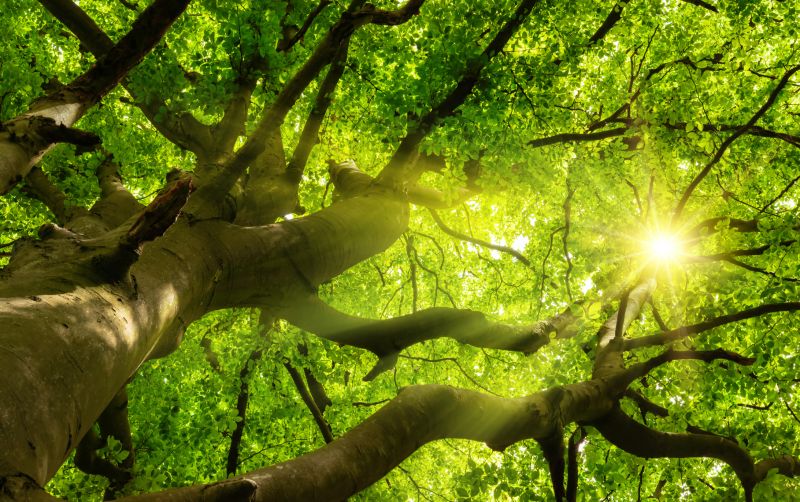
Step 1: Assess the Tree
Start by evaluating the tree and determining which branches need shaping. Look for branches that are crossing, rubbing against each other, or growing in undesirable directions.
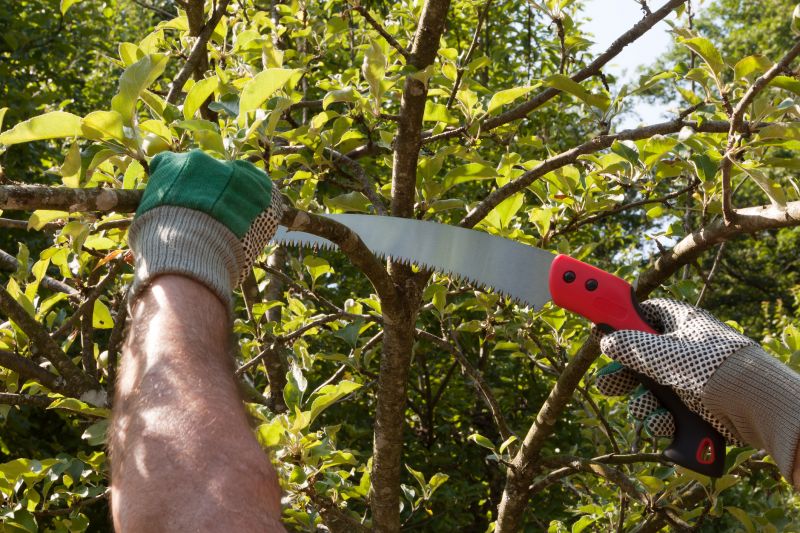
Step 2: Gather the Necessary Tools
Before you begin, make sure you have the right tools for the job. You may need pruning shears, loppers, a pruning saw, and a ladder if the branches are high up.
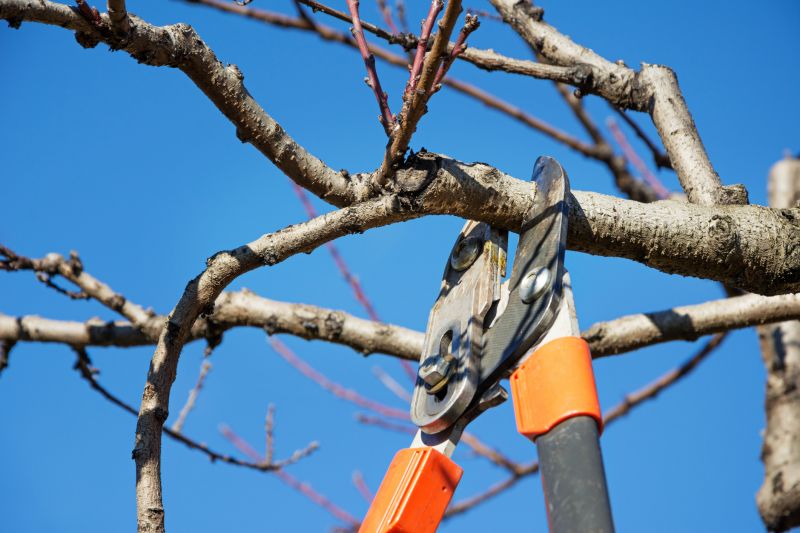
Step 3: Plan the Cuts
Take a moment to plan your cuts. Identify the branch collar, which is the swollen area where the branch meets the trunk or another branch. Aim to make clean cuts just outside the branch collar to promote proper healing.
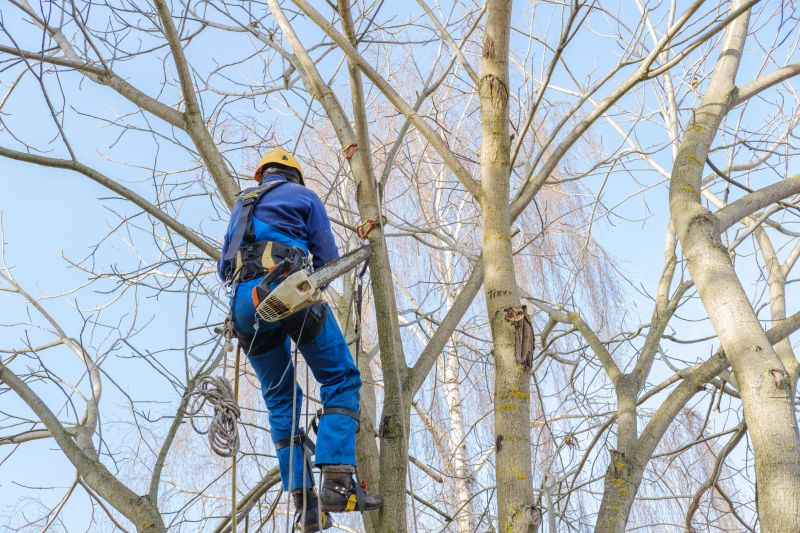
Step 4: Remove Dead or Diseased Branches
Start by removing any dead or diseased branches. These branches are not contributing to the tree's health and can potentially harm other parts of the tree if left unattended.
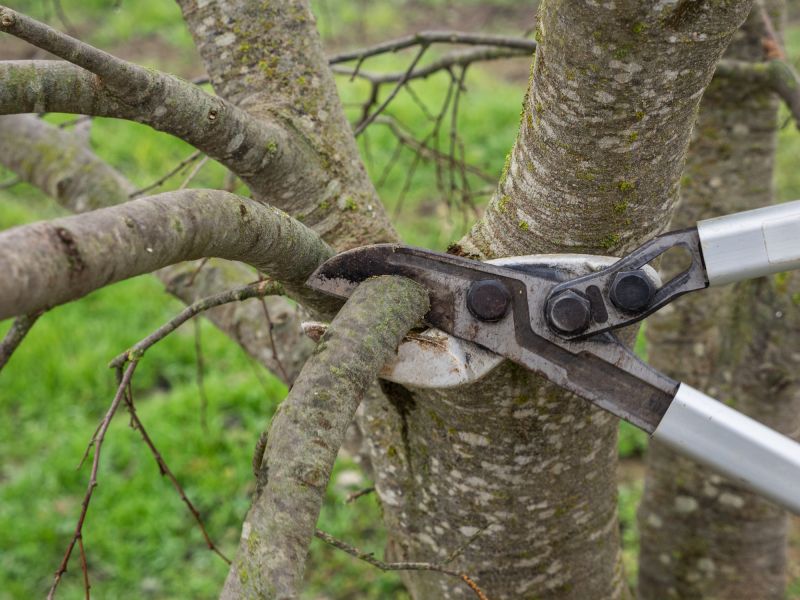
Step 5: Thin Out Excess Branches
If the tree is overcrowded with branches, thinning them out can help improve air circulation and allow more sunlight to reach the interior of the tree. Remove branches that are growing too closely together or crossing each other.
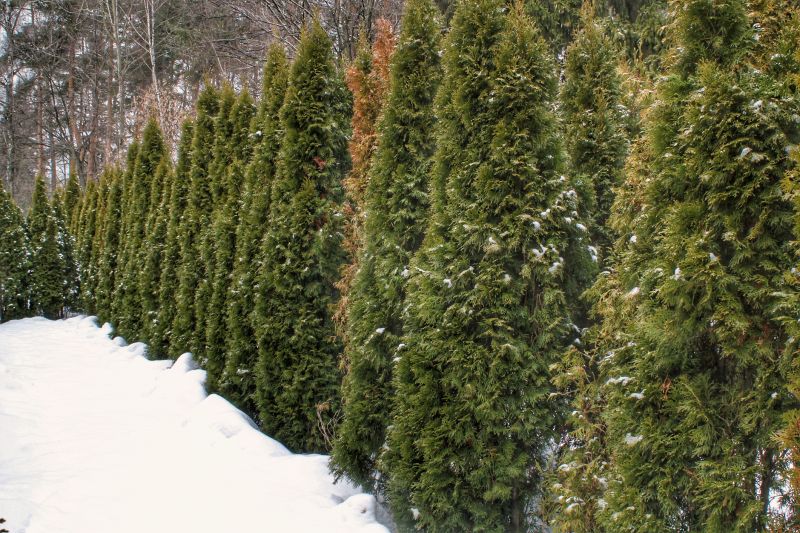
Step 6: Shape the Remaining Branches
Once you have removed the unwanted branches, you can begin shaping the remaining branches. Use your pruning shears or loppers to trim branches to the desired length or shape. Take care not to remove more than 25% of the tree's foliage in a single season.
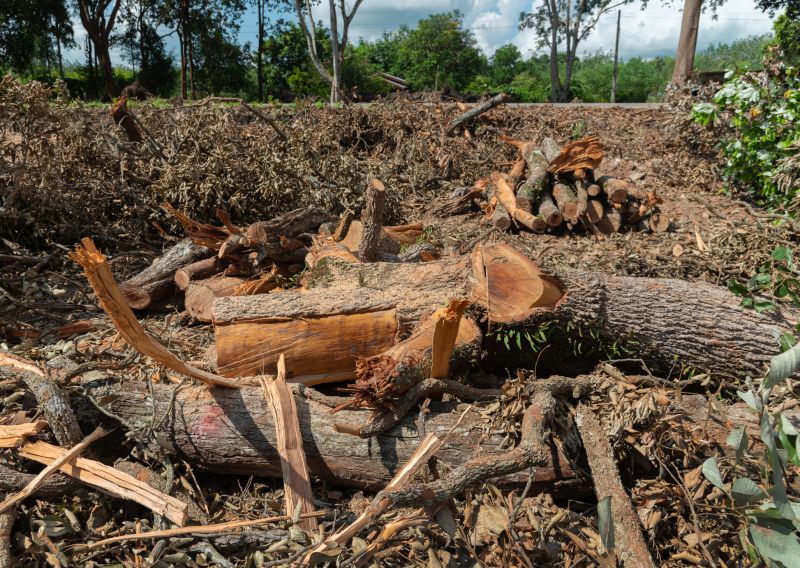
Step 7: Clean Up and Dispose of Branches
After shaping the tree branches, gather and dispose of the cut branches properly. You can either compost them or arrange for their proper disposal according to local regulations.
Step 8: Monitor and Maintain
Keep an eye on the tree's growth and monitor the branches you shaped. If any new growth requires further shaping, repeat the process as needed. Regular maintenance will help keep the tree healthy and aesthetically pleasing.
Following these steps will guide you through the process of shaping tree branches. Remember to prioritize safety, use the appropriate tools, and consult a professional arborist if you are unsure about any aspect of tree branch shaping.