How to Trim a Tree Hedge
Trimming a tree hedge is an essential part of maintaining its health and appearance. Follow these steps to ensure a successful tree hedge trimming:
Step 1: Gather the necessary tools
Before starting the trimming process, make sure you have the following tools:
- Pruning shears
- Hedge trimmers
- Ladder (if needed)
- Gloves
- Safety goggles
Step 2: Assess the tree hedge
Take a close look at the tree hedge to determine its overall shape and identify any dead or damaged branches that need to be removed.
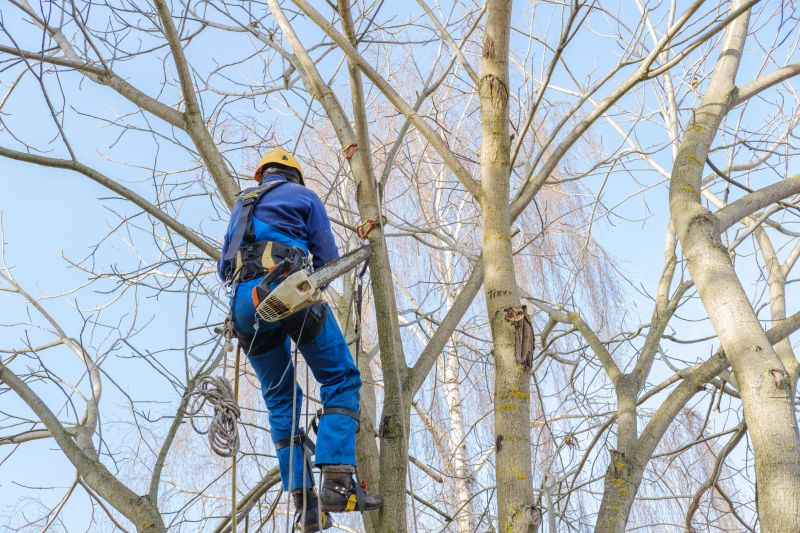
Step 3: Start with the top
Begin by trimming the top of the tree hedge. Use the ladder if necessary to reach higher branches. Trim the top evenly, following the desired shape of the hedge.
Step 4: Trim the sides
Move on to trimming the sides of the tree hedge. Start from the bottom and work your way up, using the hedge trimmers to create a straight and neat edge.
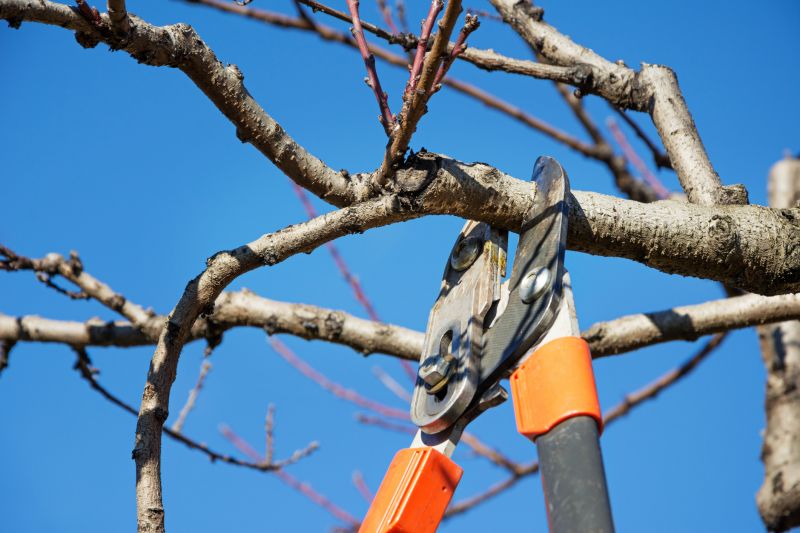
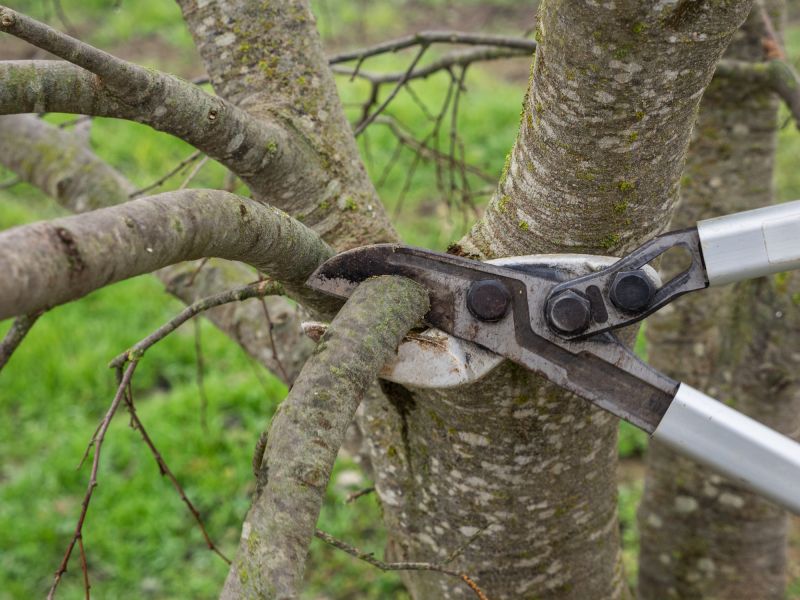
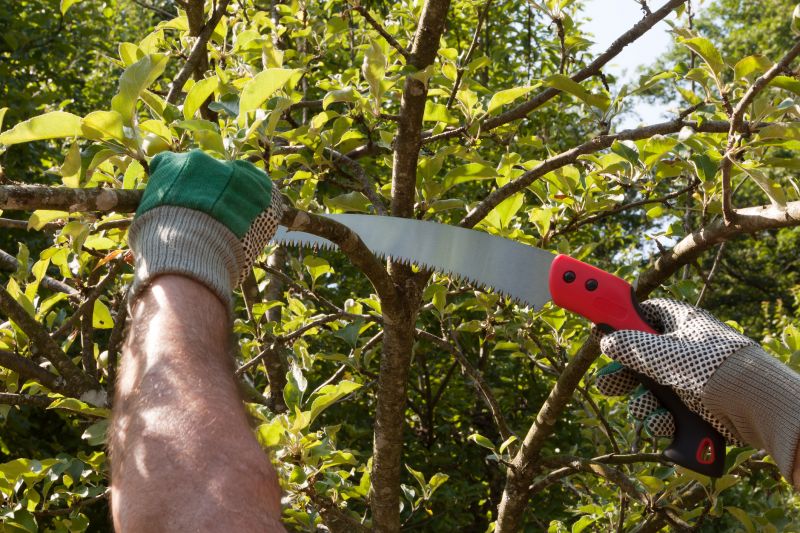
Step 5: Remove dead or damaged branches
While trimming, keep an eye out for any dead or damaged branches. Use the pruning shears to carefully remove them from the tree hedge. This will promote healthy growth.
Step 6: Clean up the area
Once you have finished trimming the tree hedge, gather and dispose of any trimmings. Rake the area to remove any fallen leaves or debris.
Step 7: Maintenance tips
To keep your tree hedge looking its best, consider these maintenance tips:
- Regularly trim the hedge to maintain its shape and prevent overgrowth.
- Water the hedge adequately, especially during dry periods.
- Fertilize the hedge annually to provide essential nutrients.
- Inspect the hedge regularly for signs of pests or diseases.
By following these steps and maintaining your tree hedge properly, you can enjoy a beautiful and healthy hedge for years to come.