How to Trim an Apple Tree
Trimming your apple tree is essential for its health and productivity. Follow these steps to properly trim your apple tree:
Step 1: Gather the necessary tools
Before you begin, make sure you have the following tools:
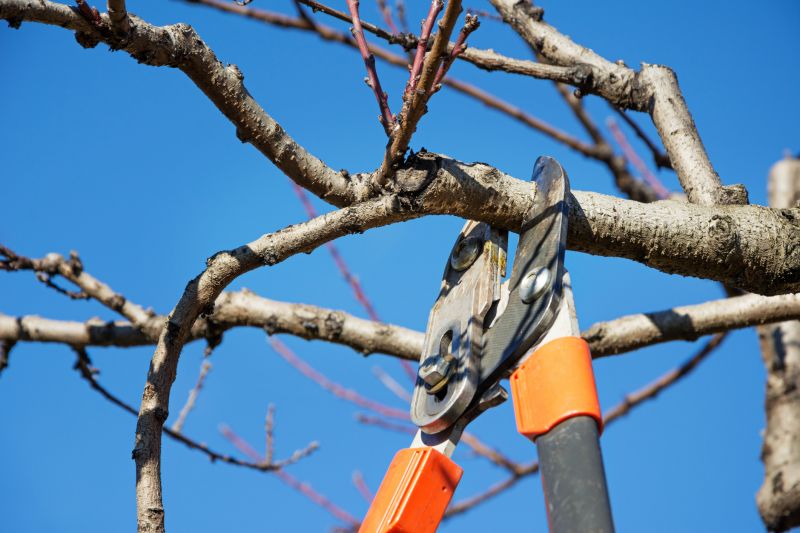
- Pruning shears
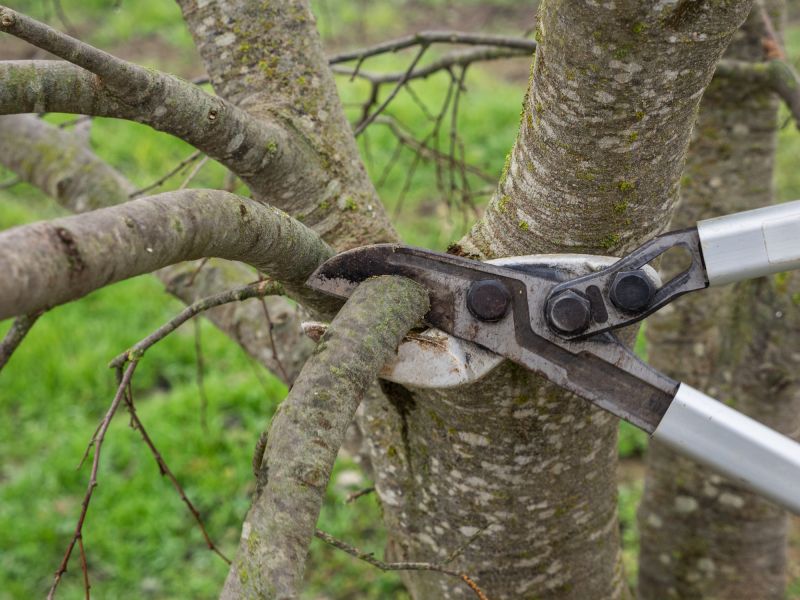
- Loppers
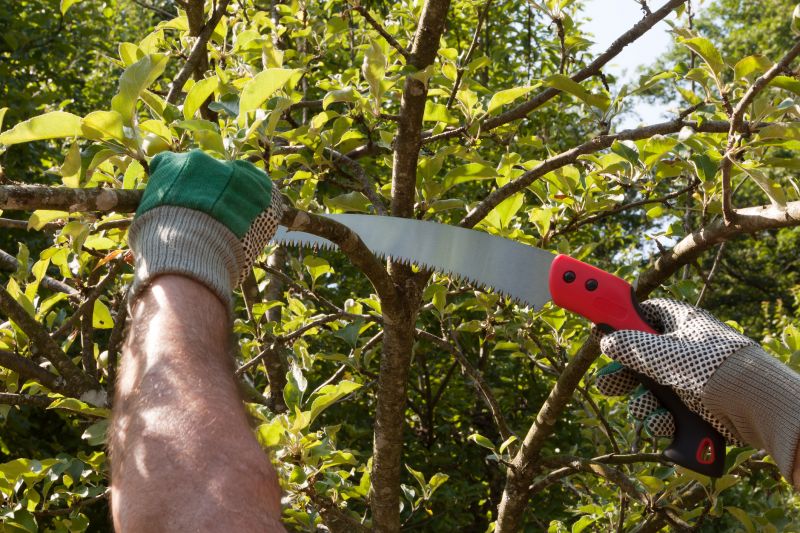
- Pruning saw
- Gloves
- Safety goggles
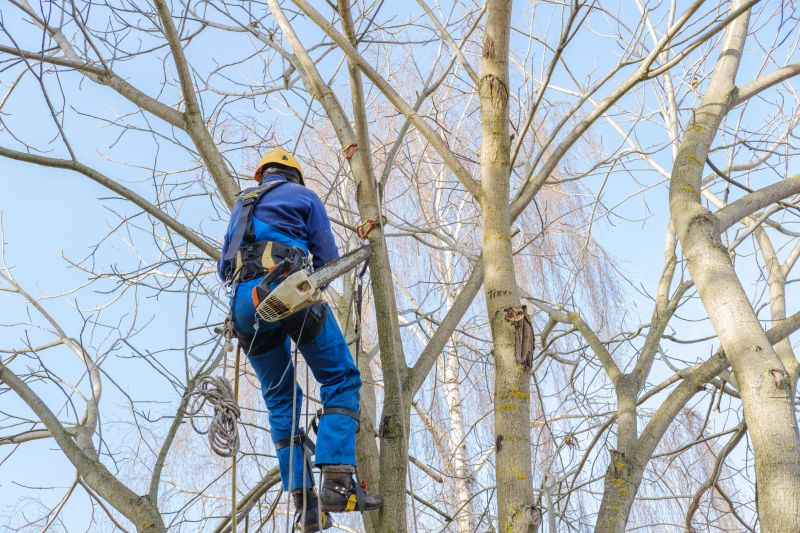
Step 2: Assess the tree
Take a close look at your apple tree and identify any dead, damaged, or diseased branches. These should be your primary focus for trimming.
Step 3: Start with dead branches
Using your pruning shears or loppers, remove any dead branches by cutting them as close to the trunk as possible. This will help improve the overall health of the tree.
Step 4: Remove damaged or diseased branches
Identify any branches that are damaged or show signs of disease. Cut these branches back to healthy wood, ensuring a clean cut just outside the branch collar.
Step 5: Thin out crowded areas
If your apple tree has dense growth, it's important to thin out crowded areas to improve air circulation and light penetration. Remove any branches that are crossing or rubbing against each other.
Step 6: Shape the tree
To maintain a desirable shape and encourage proper growth, selectively prune branches to shape the tree. Remove any branches that are growing inwards or downwards.
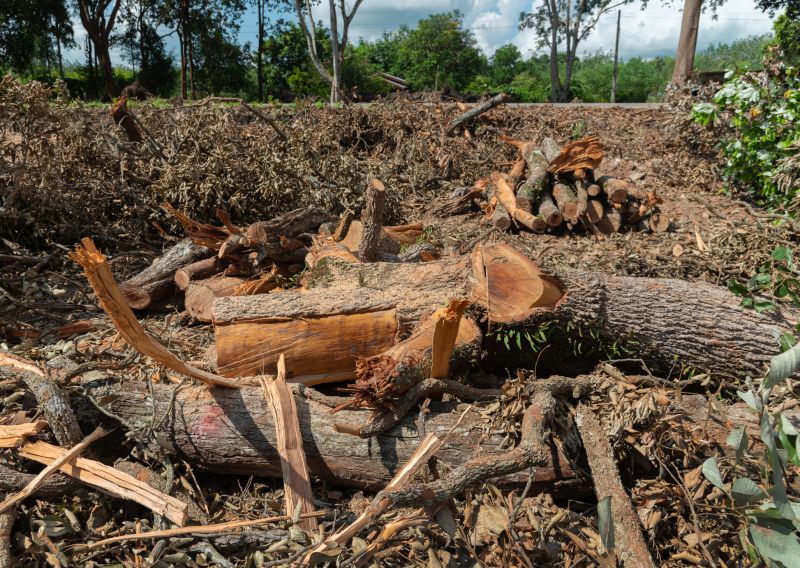
Step 7: Clean up and dispose of trimmings
Once you have finished trimming, gather all the trimmings and dispose of them properly. This will help prevent the spread of diseases and pests.
Step 8: Maintain regular pruning schedule
Lastly, remember to maintain a regular pruning schedule for your apple tree. Annual or biennial pruning will help keep the tree healthy and productive.
By following these steps, you can ensure that your apple tree stays healthy, produces abundant fruit, and looks aesthetically pleasing.