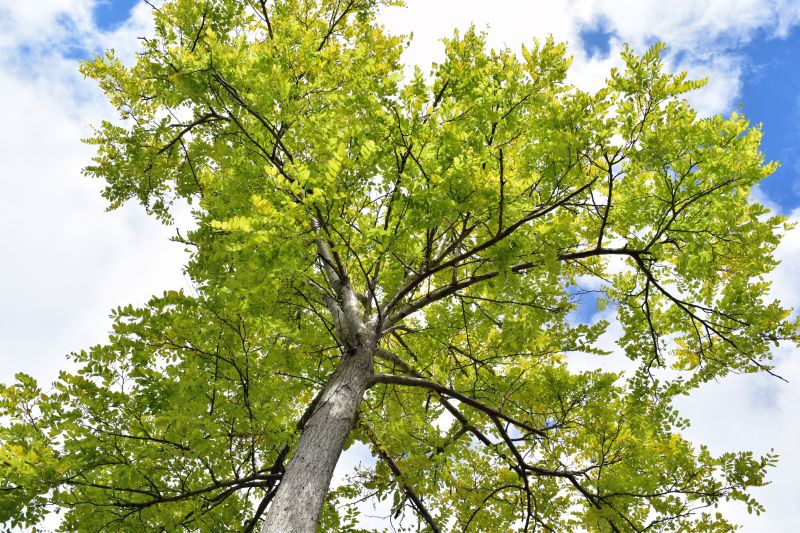
Step 1: Assess the Situation
Before starting the tree limb removal process, evaluate the tree and identify the limbs that need to be removed. Look for damaged, diseased, or dead limbs, as well as those that pose a risk to nearby structures or power lines.
Step 2: Gather the Necessary Tools
Make sure you have the right tools for the job. These may include a chainsaw, pruning shears, loppers, safety goggles, gloves, and a ladder or pole saw for hard-to-reach limbs.
Step 3: Prepare the Work Area
Clear the area around the tree of any obstacles or debris. Ensure that there is enough space for you to work safely and that there are no people or pets nearby.
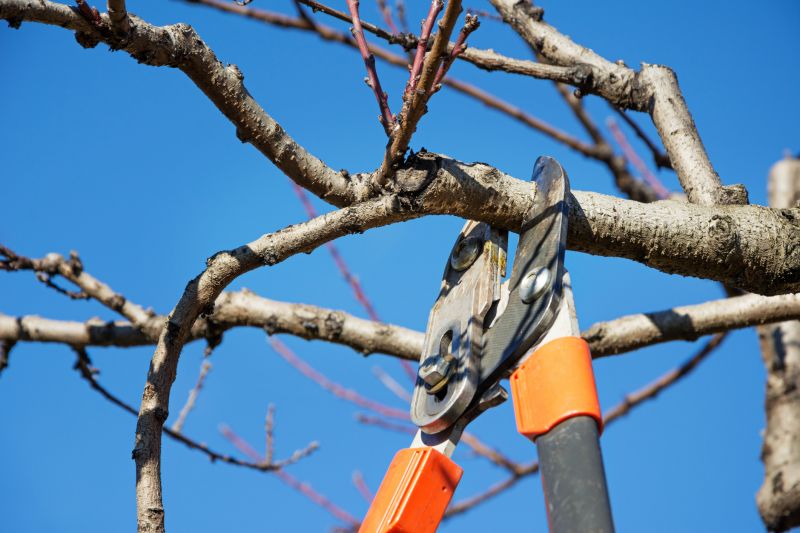
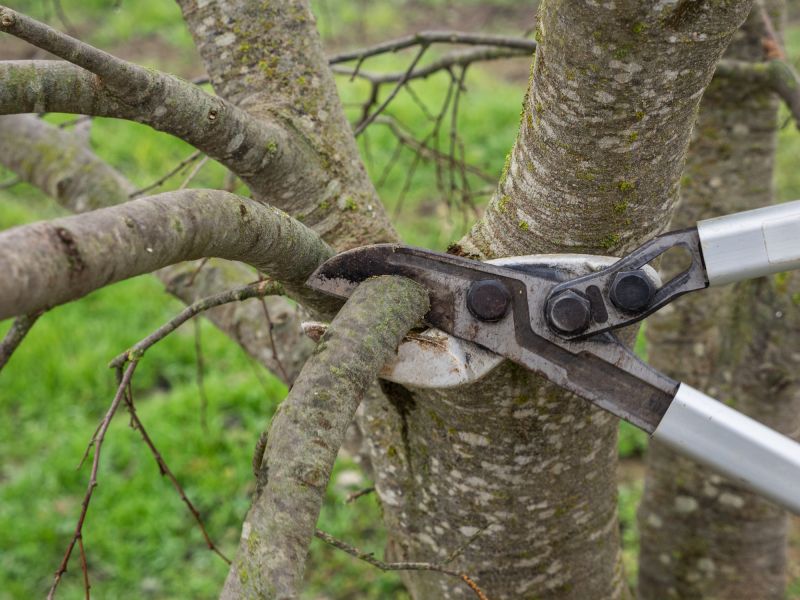
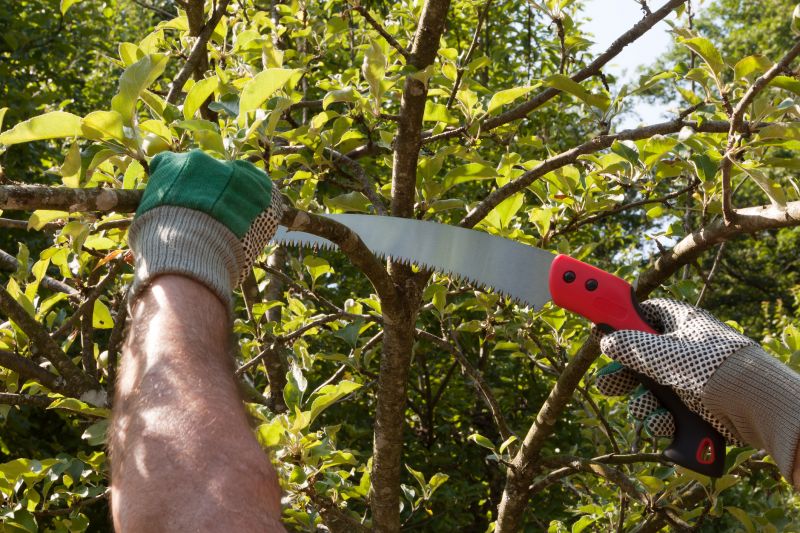
Step 4: Use Proper Cutting Techniques
When removing a tree limb, it's important to use proper cutting techniques to minimize damage and ensure safety. Start by making an undercut on the underside of the limb, a few inches away from the trunk. Then, make a top cut a few inches further out from the undercut. Finally, make a final cut just outside the branch collar to remove the limb without damaging the tree.
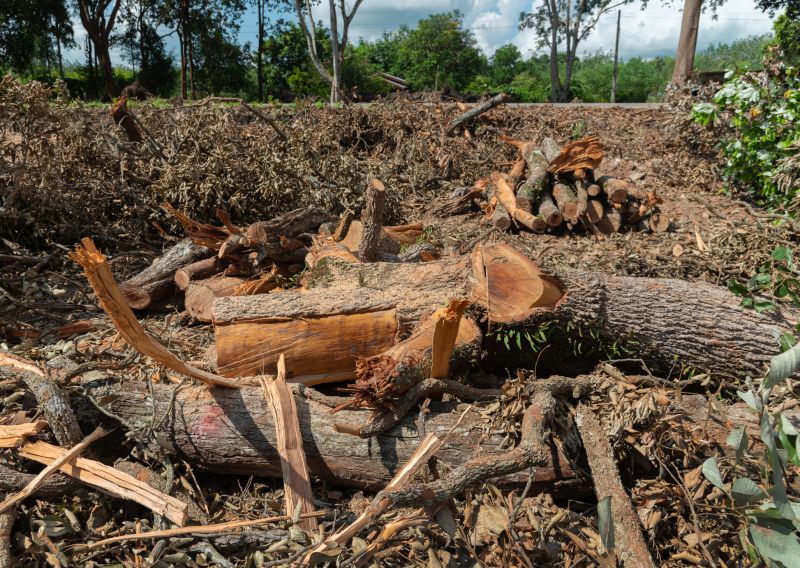
Step 5: Dispose of the Limbs
Once the limbs are removed, gather and dispose of them properly. You can either cut them into smaller pieces for easier disposal or hire a professional tree removal service to handle the debris.
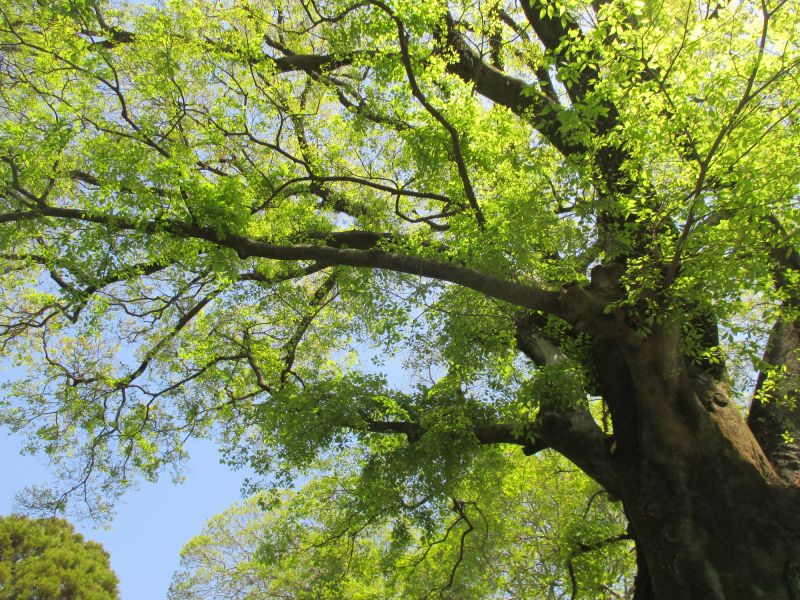
Step 6: Clean Up and Maintenance
After the tree limb removal is complete, clean up the work area and inspect the tree for any additional limbs that may require attention. Consider applying a tree wound dressing to promote healing and prevent disease or pests from infesting the tree.
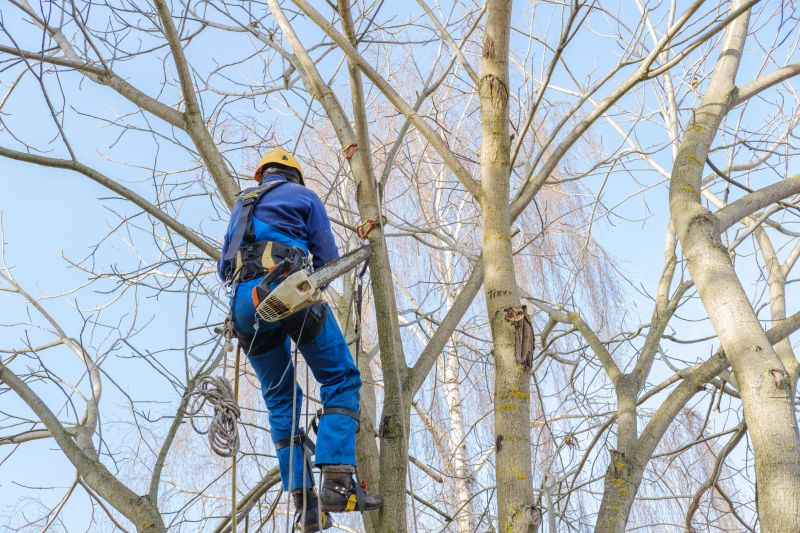
Step 7: Safety Precautions
Always prioritize safety when performing tree limb removal. Wear appropriate protective gear, such as gloves and safety goggles, and use caution when operating tools. If the job seems too difficult or dangerous, it's best to hire a professional arborist to handle the task.