How to Do Sloped Driveway Grading
Grading a sloped driveway is an important task to ensure proper drainage and prevent erosion. Follow these steps to get the job done:
Step 1: Gather the Necessary Tools and Materials
Before you begin, make sure you have the following:
- Shovel
- Rake
- Wheelbarrow
- Gravel
- Topsoil
- Water hose
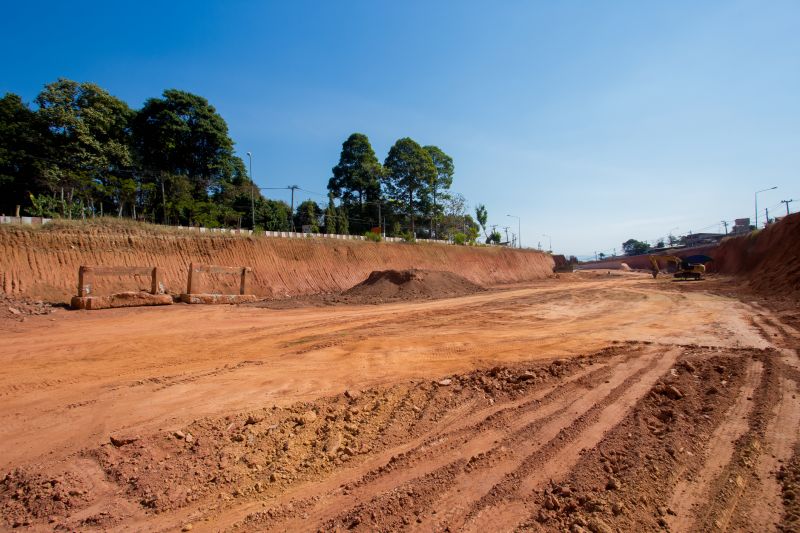
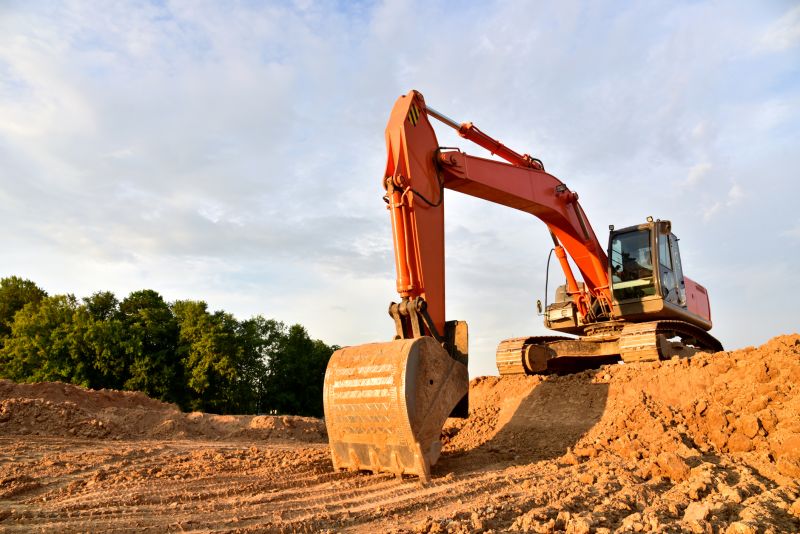
Step 2: Clear the Driveway
Remove any debris, rocks, or plants from the driveway surface.
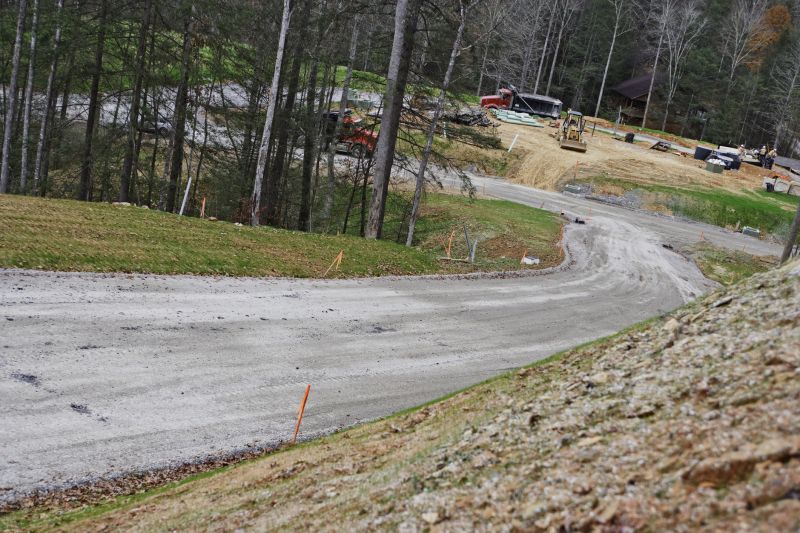
Step 3: Determine the Desired Grade
Decide on the slope and grade you want for your driveway. This will depend on your specific needs and local regulations.
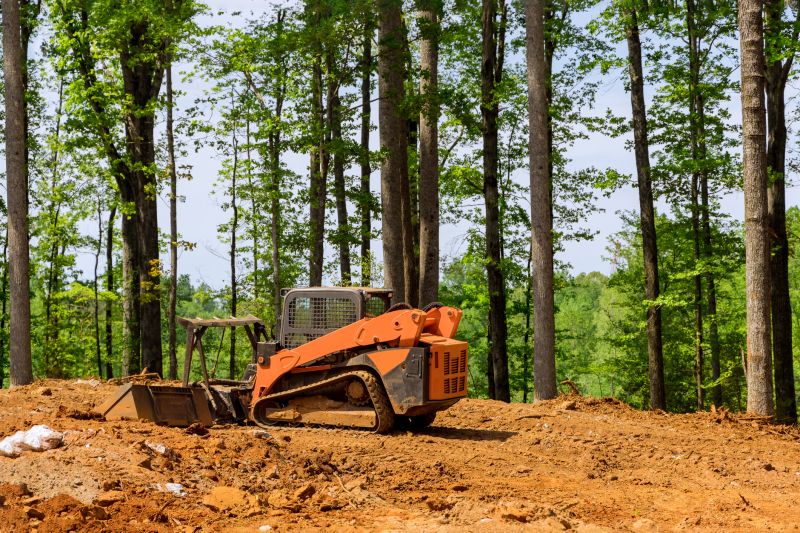
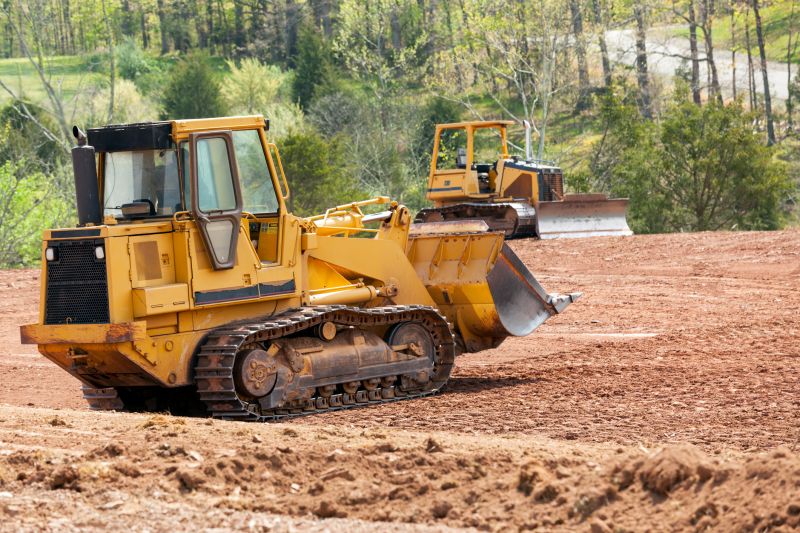
Step 4: Start Grading
Begin by adding a layer of gravel to the driveway. Spread it evenly using a rake. This will help with drainage.
Step 5: Shape the Driveway
Use a shovel to shape the driveway according to the desired slope. Start from the highest point and work your way down.
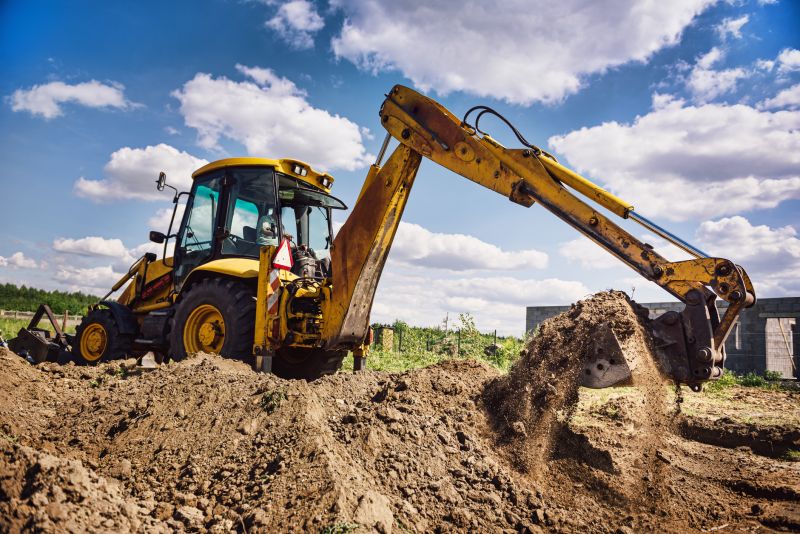
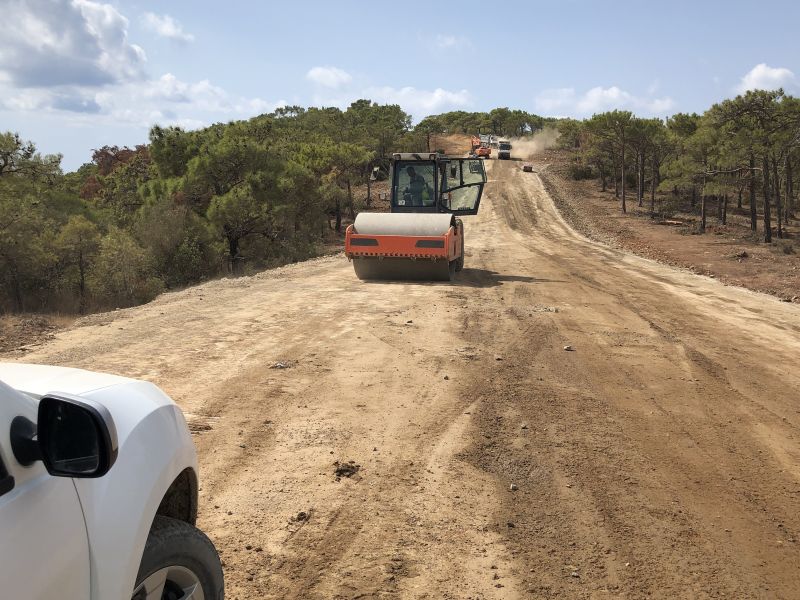
Step 6: Compact the Soil
After shaping the driveway, use a compacting tool or the back of a shovel to compact the soil. This will help prevent future sinking or shifting.
Step 7: Add Topsoil
Spread a layer of topsoil over the compacted soil. This will provide a stable base for your driveway.
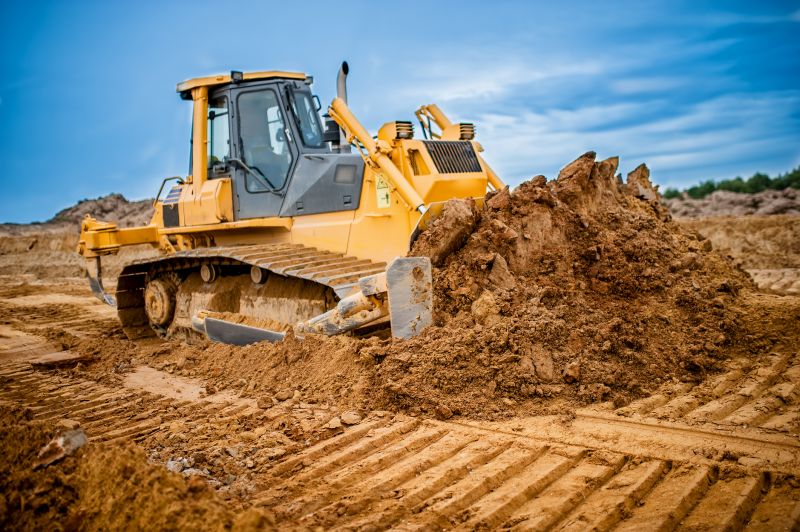
Step 8: Smooth and Level
Use a rake to smooth and level the topsoil. Make sure it is evenly distributed and free of any bumps or low spots.
Step 9: Water and Settle
Water the graded driveway thoroughly. This will help settle the soil and ensure proper compaction.
Step 10: Maintain and Monitor
Regularly inspect and maintain your sloped driveway to prevent erosion and ensure proper drainage. Remove any debris or sediment that may accumulate.
By following these steps, you can successfully grade your sloped driveway and improve its functionality and appearance.