Hillside Excavation | How To
Get help with your hillside excavation needs. Fill out the form above and we will connect you with local pros in your area. Hillside excavation refers to the process of removing soil, rocks, and other materials from a sloping or hilly area to create a flat surface for construction or landscaping purposes. This type of excavation is typically required when building structures on uneven terrain, such as hillside homes, retaining walls, or terraced gardens. Skilled professionals with extensive experience in earthmoving and excavation techniques are essential for safely and efficiently completing hillside excavation projects. With their expertise, they can navigate the challenges posed by the natural slope of the land, ensuring stability and proper drainage. By utilizing specialized equipment and adhering to industry standards, professionals can reshape the hillside to meet the specific requirements of the project, ultimately creating a stable foundation for further construction or landscaping.
How to Do Hillside Excavation
Step 1: Assess the Site
Before starting the excavation process, it is crucial to assess the site thoroughly. Identify any potential risks, such as unstable soil, nearby structures, or utility lines. Take measurements and note the slope of the hillside.
Step 2: Obtain Necessary Permits
Contact your local authorities to determine if any permits are required for hillside excavation. Obtain the necessary permits and ensure compliance with any regulations or restrictions.
Step 3: Plan the Excavation
Create a detailed plan for the excavation, taking into account the desired depth and shape of the area. Consider drainage requirements and erosion control measures. Use stakes and string to mark the boundaries of the excavation area.
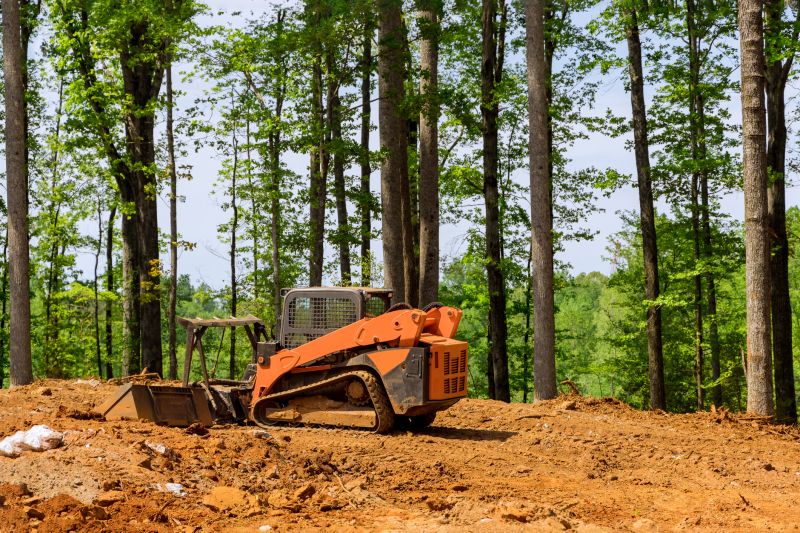
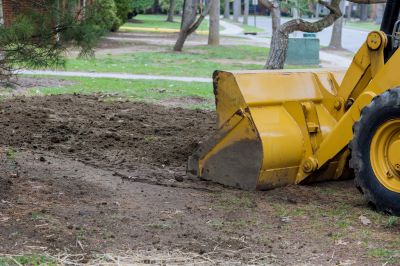
Step 4: Clear Vegetation
Remove any vegetation, rocks, or debris from the area to be excavated. This will provide a clear workspace and prevent interference during the excavation process.
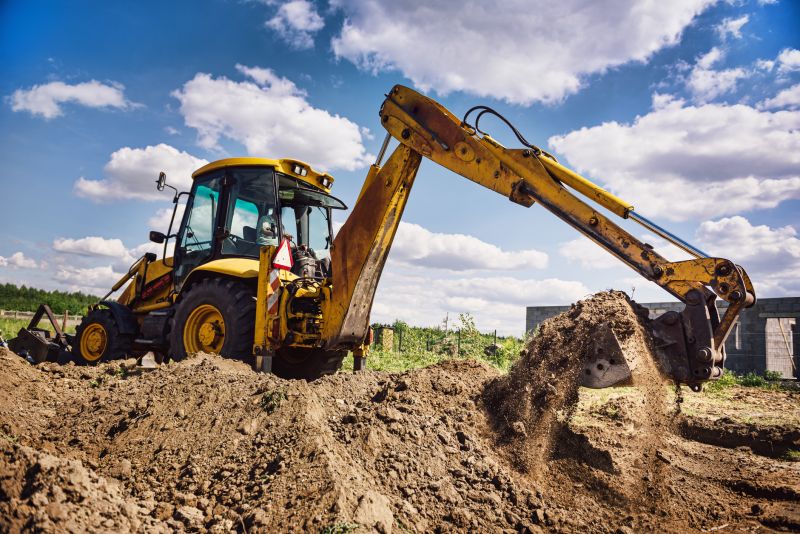
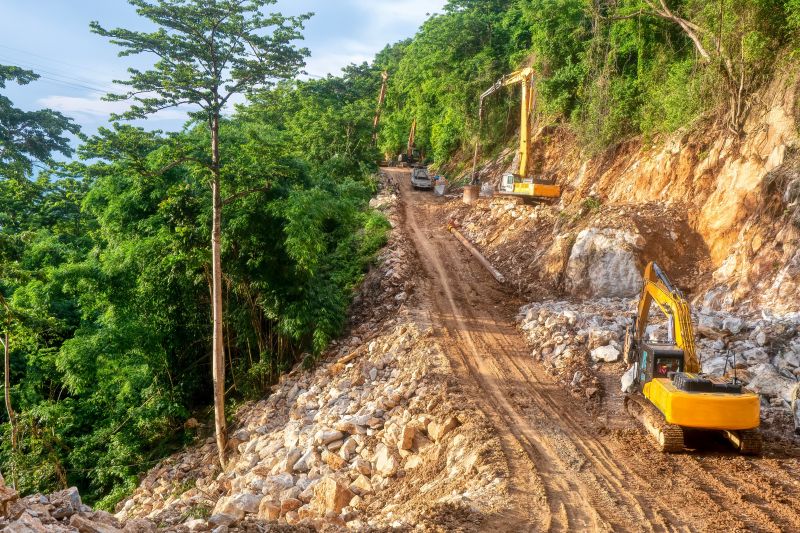
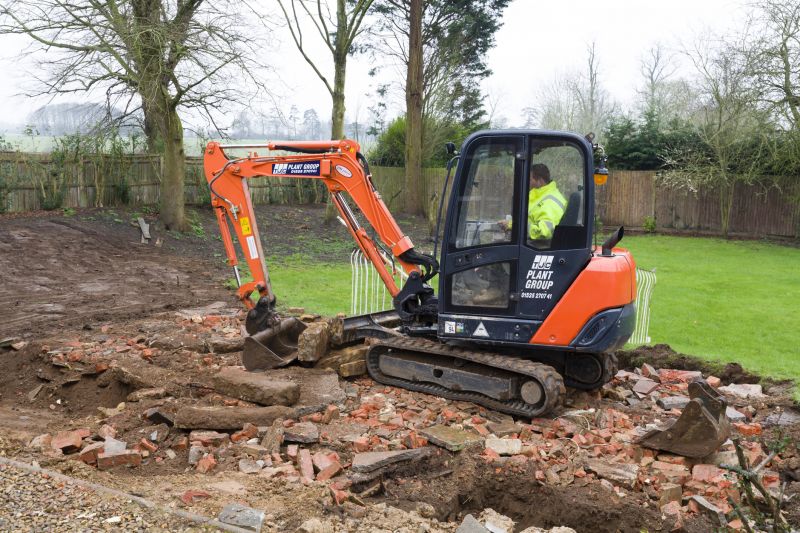
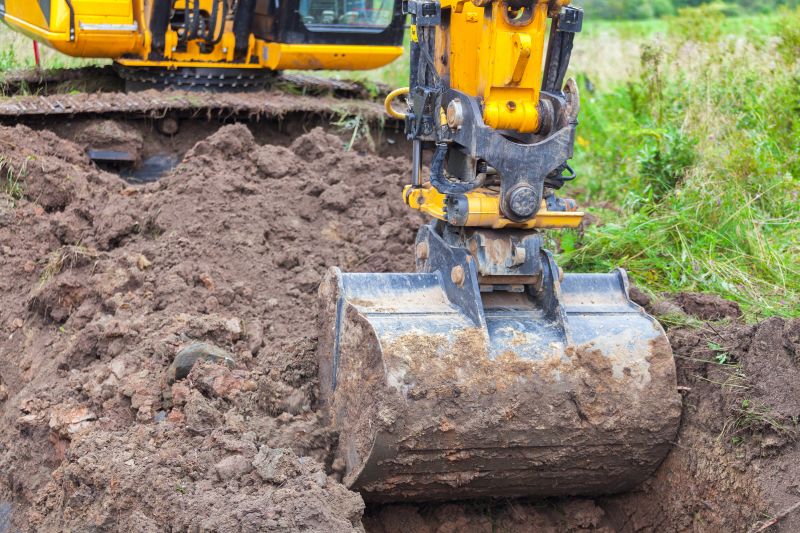
Step 5: Digging the Trench
Using an excavator or other appropriate equipment, start digging the trench according to the planned dimensions. Take care to maintain the desired slope and depth throughout the excavation.
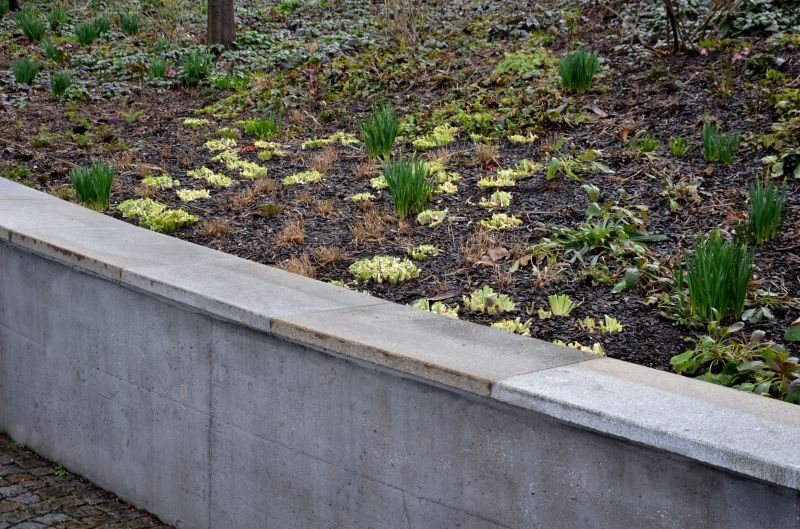
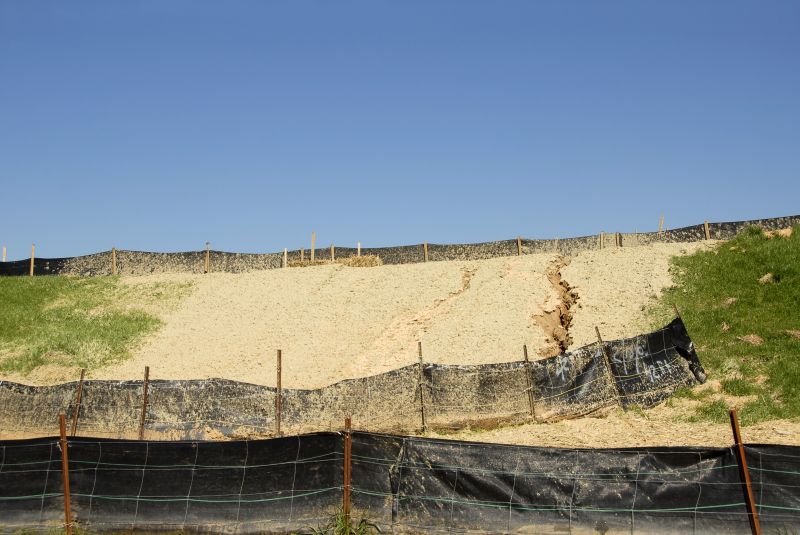
Step 6: Slope Stabilization
Once the trench is dug, reinforce the slope to prevent erosion and landslides. This can be done by installing retaining walls, terracing, or using erosion control measures such as geotextiles or vegetation.
Step 7: Backfilling
After slope stabilization, backfill the trench with suitable material, such as compacted soil or gravel. Ensure proper compaction to provide a stable foundation for future use.
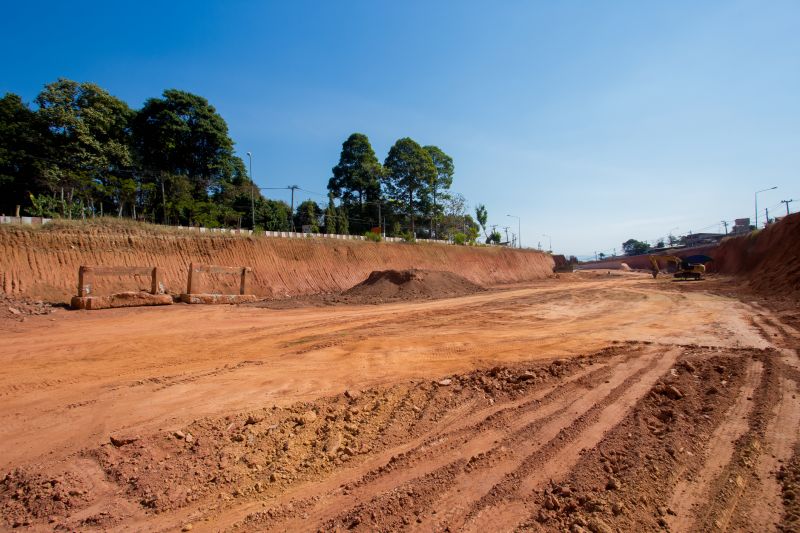
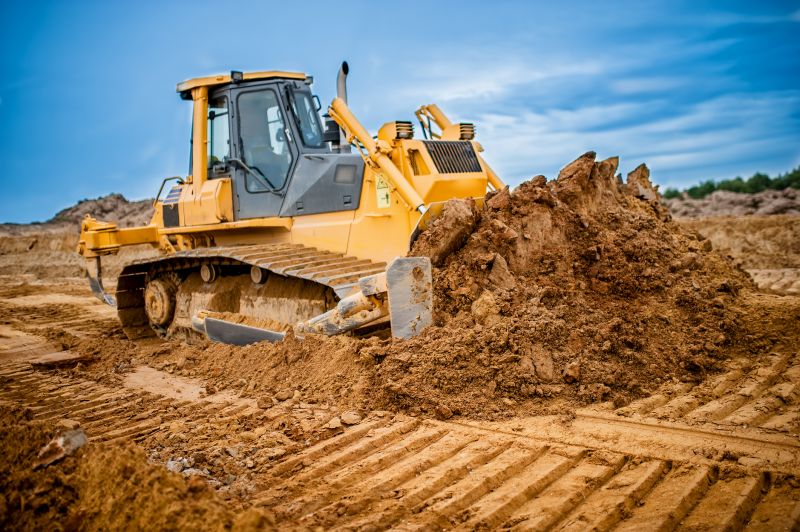
Step 8: Final Grading
Smooth out the excavated area to achieve the desired final grade. Use a grading rake or other appropriate tools to ensure an even surface.
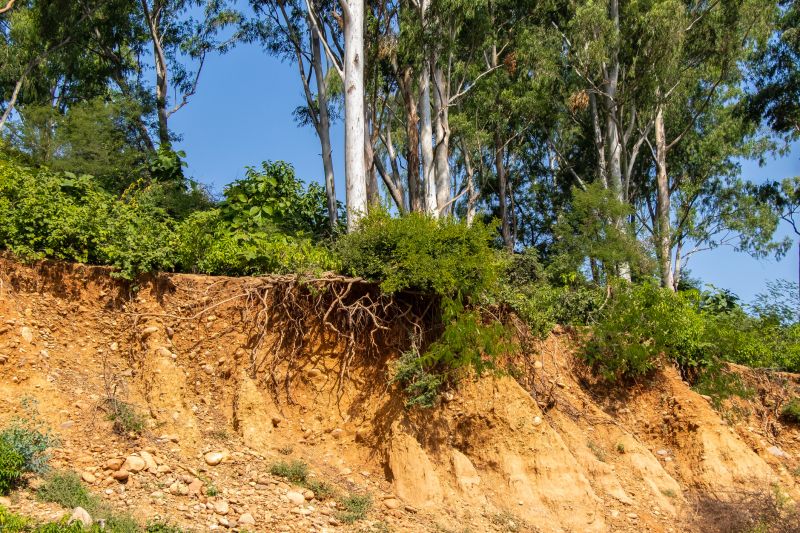
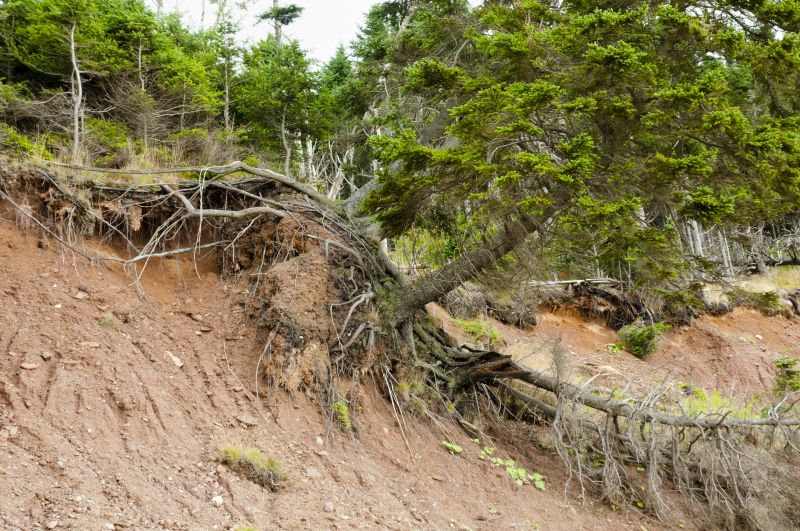
Step 9: Erosion Control
Implement erosion control measures, such as installing erosion control blankets, mulching, or planting vegetation. These measures will help prevent soil erosion and promote the stability of the hillside.
Step 10: Clean Up
Remove any remaining debris, tools, or equipment from the site. Properly dispose of any waste materials and restore the surrounding area to its original condition.
Conclusion
Hillside excavation can be a complex process, but by following these steps and taking necessary precautions, you can successfully complete the project. Always prioritize safety and consult with professionals if needed.